16 Easy Steps to Gardening in Alaska
HGA-00134 View this publication in PDF form to print or download.
1
PLAN A GARDEN that will fill your family need and not be too large to maintain conveniently.
2
CHOOSE A GARDEN SITE with a sunny, southerly exposure if possible. Avoid areas that are shaded by tall buildings and trees a large part of the day. Cool weather crops, which include the cabbage family and most root crops, can be grown on the less favorable north and northwest sites.
3
A WINDBREAK 4 to 6 feet tall will greatly improve the productivity of a garden that is exposed to a prevailing wind. Be sure to consider any shading influence on the site.
4
TEST THE SOIL by taking a representative sample of soil from the top 6 inches of the garden (your local Extension office has information on soil testing). The best time to take and submit a soil sample is in the fall before freeze up.

5
SELECT VEGETABLES that grow and produce well in Alaska. When purchasing seed and transplants, buy varieties
that will grow successfully in your area. For more information, see Extension publications Recommended Variety List for Interior Alaska, HGA-00030, Recommended Variety List for Southcentral Alaska, HGA-00031, and Recommended Variety List for Southeastern Alaska, HGA-00231.
6
CULTIVATE THE SOIL by turning or rototilling it to a depth of 6 to 8 inches. Remove large rocks and thoroughly break up all soil clods. If organic matter is added, mix it into the top 6 inches of soil.
7
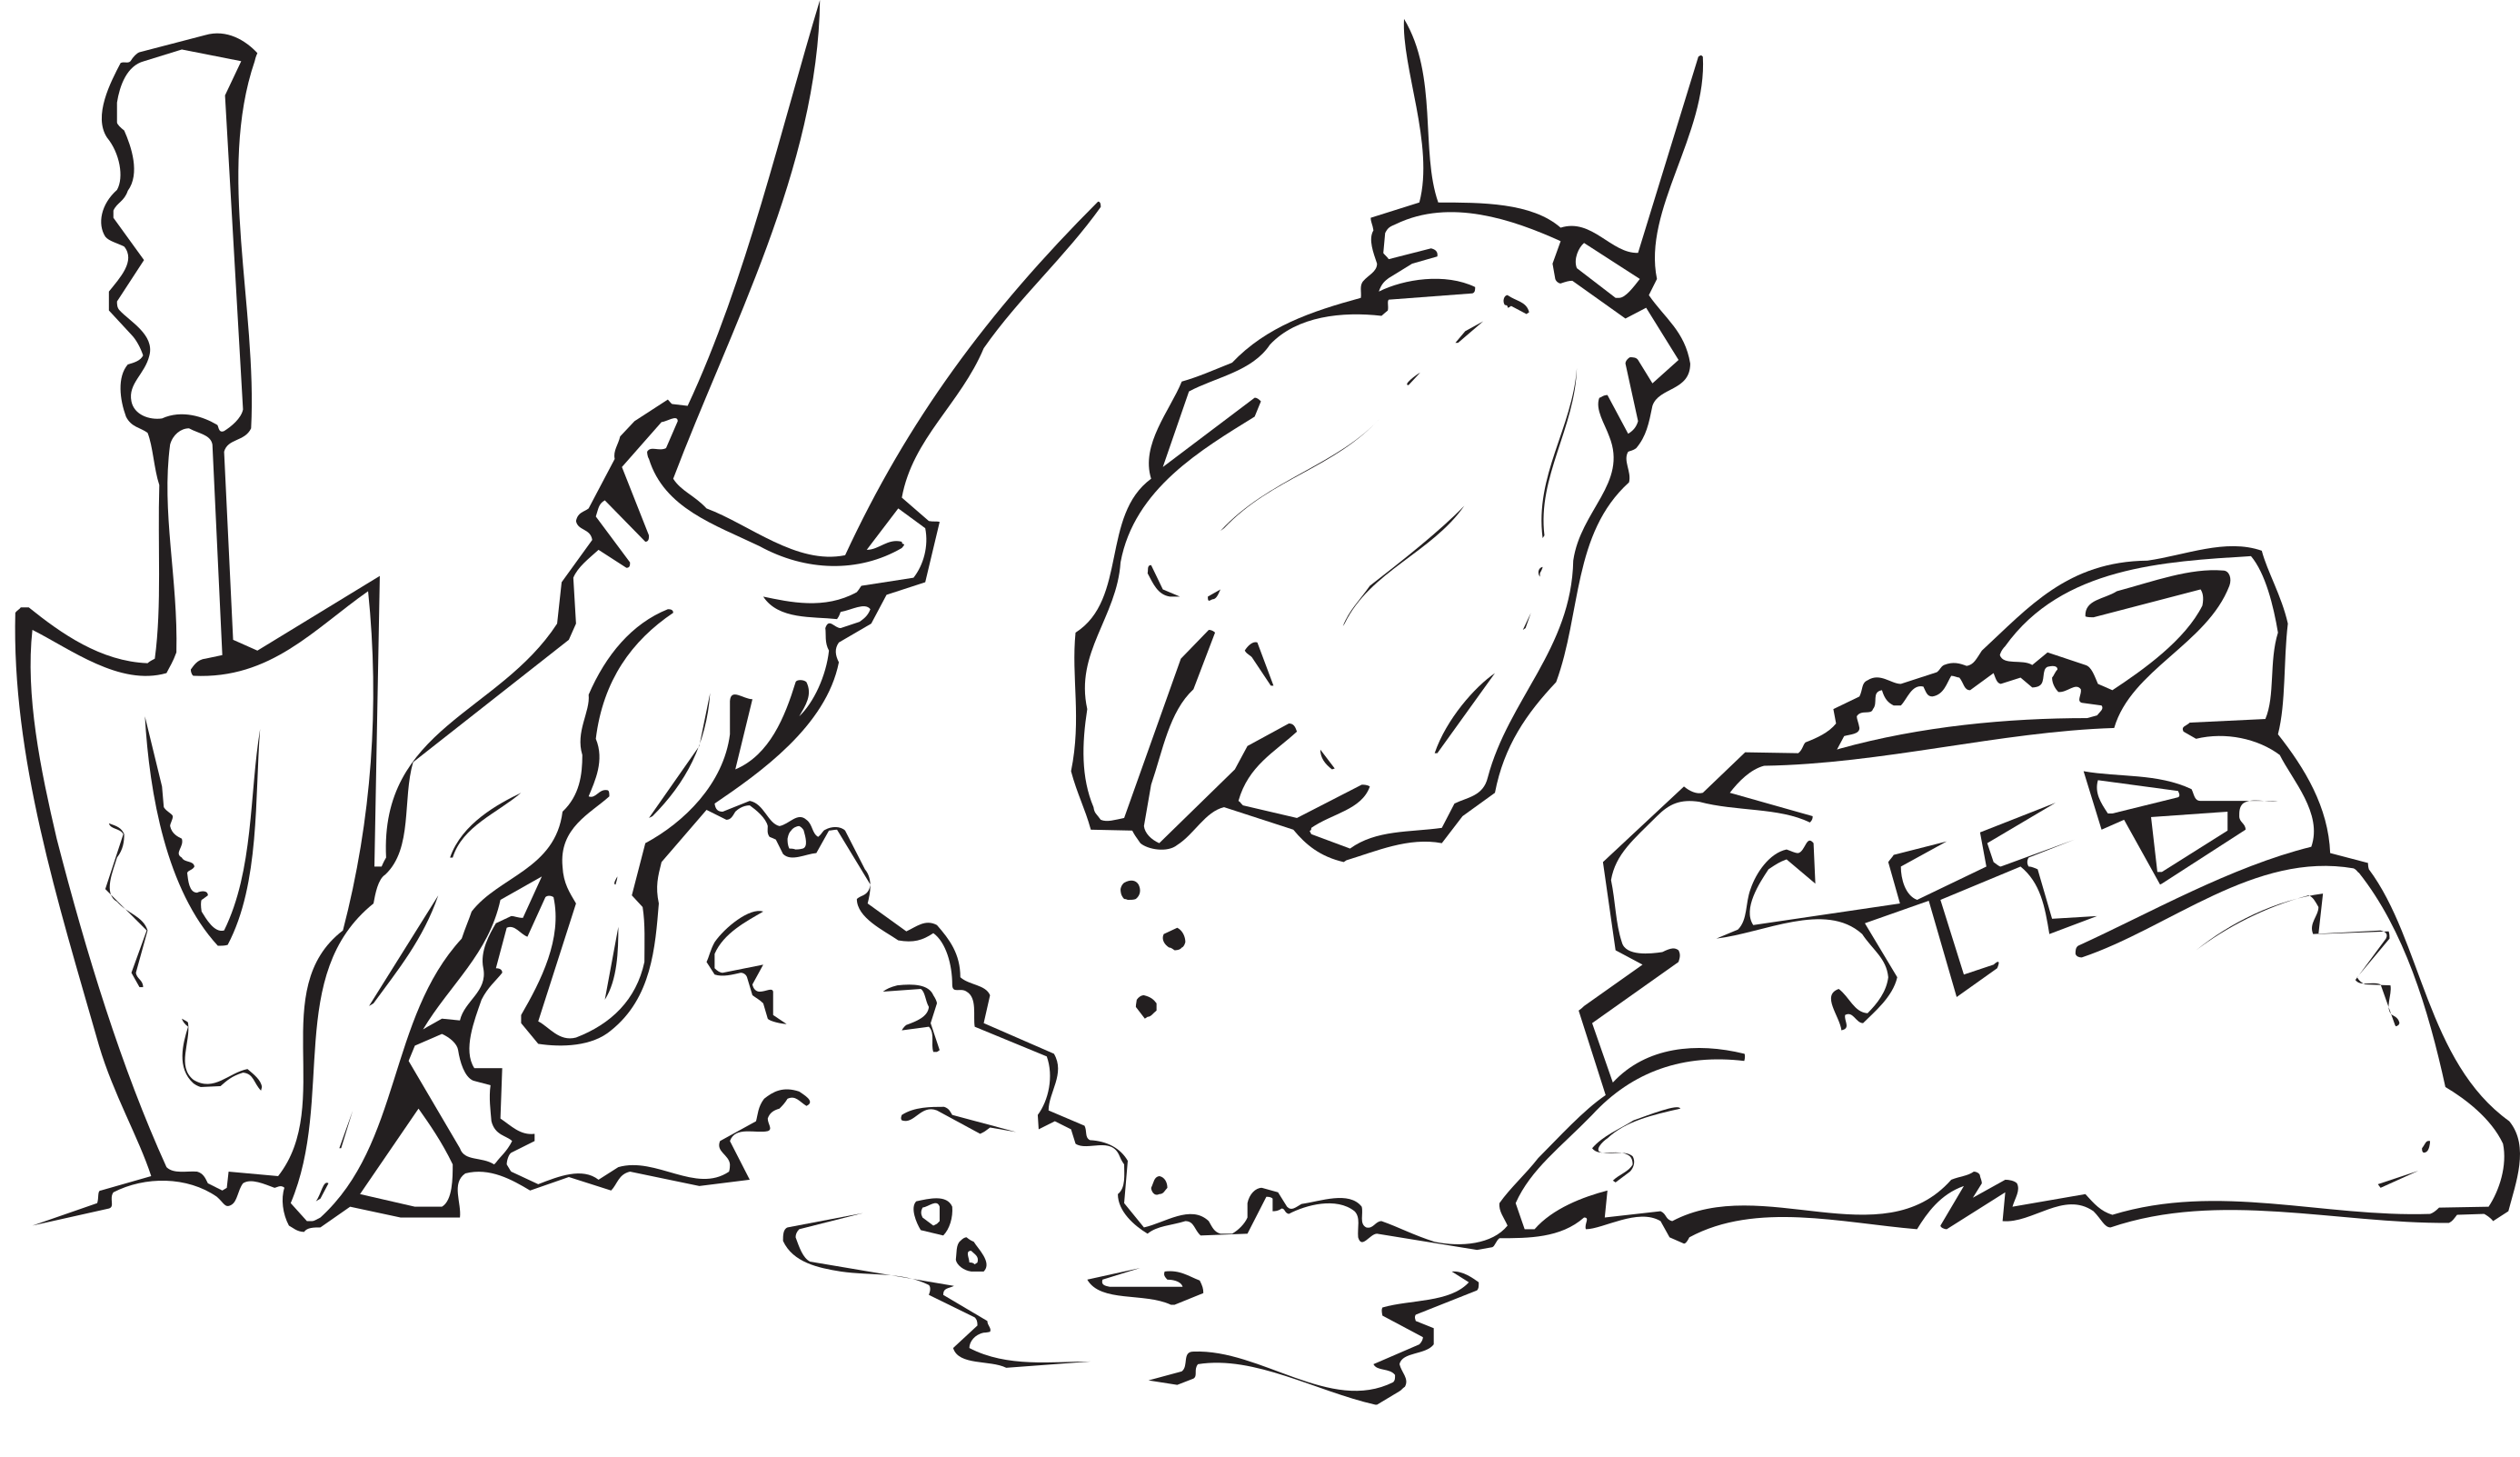
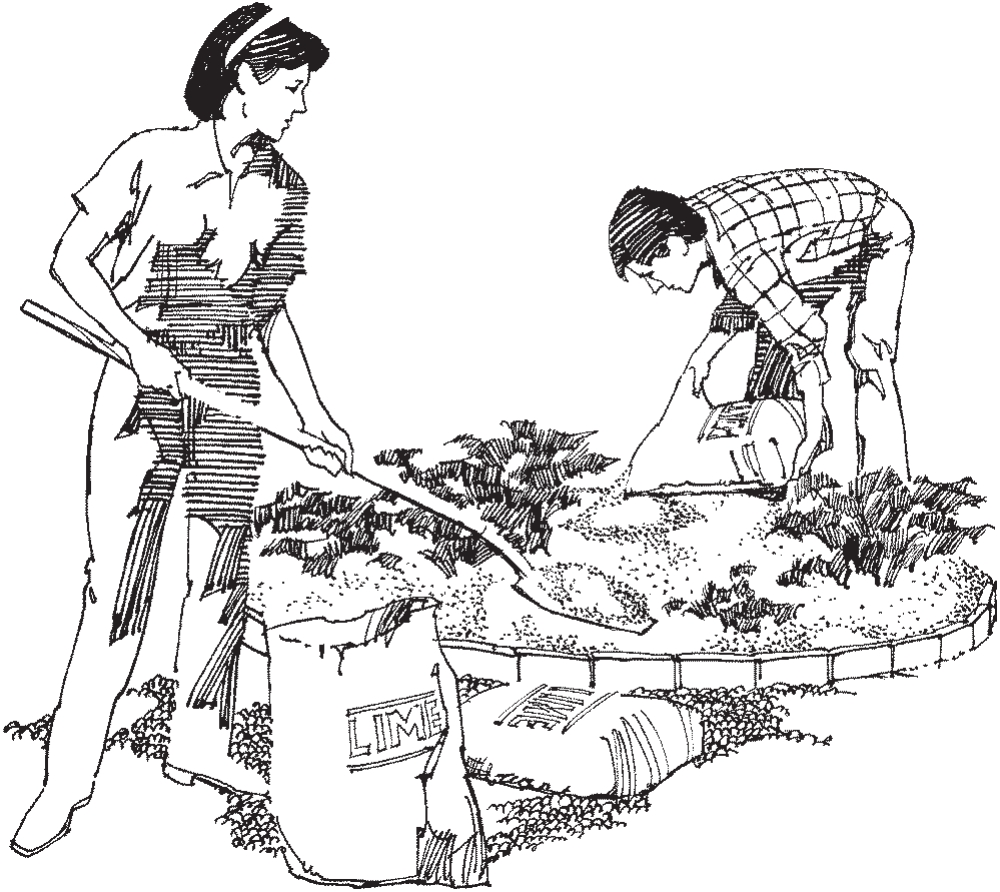
BROADCAST GROUND LIMESTONE over the garden at the rate recommended by the soil test to bring the pH into a range between 6 and 7. Limestone will not injure seeds or garden plants on contact. A low pH makes the nutrient phosphorus, needed for good root growth, nearly unavailable.
8
 FERTILIZE as recommended by the soil test or place a band of 8-32-16 or 10-20-10 fertilizer
2 to 3 inches away from and parallel to the row and one inch below the seed at a rate
of one pound of fertilizer per 30 feet of row. Another method is to broadcast the
fertilizer before planting at a rate of 5 to 6 pounds per 100 square feet. With the
broadcast application, mix the fertilizer thoroughly into the top 2 inches of soil
because both nitrogen and potassium will injure seed and plant roots on contact. Applying
half the amount at planting and half at mid-season will increase fertilizer efficiency
and reduce the potential for leaching.
FERTILIZE as recommended by the soil test or place a band of 8-32-16 or 10-20-10 fertilizer
2 to 3 inches away from and parallel to the row and one inch below the seed at a rate
of one pound of fertilizer per 30 feet of row. Another method is to broadcast the
fertilizer before planting at a rate of 5 to 6 pounds per 100 square feet. With the
broadcast application, mix the fertilizer thoroughly into the top 2 inches of soil
because both nitrogen and potassium will injure seed and plant roots on contact. Applying
half the amount at planting and half at mid-season will increase fertilizer efficiency
and reduce the potential for leaching.
9
PREPARE THE SEEDBED by raking the surface smooth to provide the fine textured soil needed to make good seed-to-soil contact and good germination.
10
 RAISE THE SOIL TEMPERATURE by planting through a clear plastic mulch. Clear plastic mulch hastens soil warm-up
by allowing the sun’s rays to penetrate the soil and preventing the heat from being
dissipated by the wind. In much of Alaska, a clear plastic mulch is required all season
for warm-soil crops such as corn, tomatoes and squash. A transparent row cover will
further enhance growth efficiency by increasing air temperature during the early part
of the season.
RAISE THE SOIL TEMPERATURE by planting through a clear plastic mulch. Clear plastic mulch hastens soil warm-up
by allowing the sun’s rays to penetrate the soil and preventing the heat from being
dissipated by the wind. In much of Alaska, a clear plastic mulch is required all season
for warm-soil crops such as corn, tomatoes and squash. A transparent row cover will
further enhance growth efficiency by increasing air temperature during the early part
of the season.
Caution: Most seedlings will sunburn if not released from beneath the plastic mulch as soon as they emerge from the soil.
11
STAKE THE ROW AND PLANT, and seed at a depth no deeper than two times the seed diameter as soon as the soil conditions are appropriate. Radish, turnip, carrot, leaf lettuce and pea seed can be planted before the danger of frost is past. Cabbage, cauliflower, Brussels sprouts and broccoli are usually more successful when planted as transplants.
12
 THIN SEEDLINGS shortly after they are up to provide adequate growing room for the strongest plants.
13
CONTROL WEEDS by removing them when they are small so the removal does not injure the roots of the vegetable crop. Short, frequent trips to weed the garden are more enjoyable than long tedious sessions.
14
WATER the garden thoroughly at the time of planting. In much of Alaska rainfall is sparse and the garden will require regular watering. Crops grown through clear plastic will need less water because the plastic mulch conserves moisture by reducing evaporation. For plants growing through plastic, add the water through the openings from which the plants are growing. Add the water carefully to avoid soil being washed away from the roots. Drip irrigation tubing may be placed on the soil surface before the plastic mulch is laid if desired.
15
CONTROL INSECTS by keeping a close watch over the garden and applying the right controls at the right times. In Alaska, all members of the cabbage family are attacked by root maggots. Slugs may also be a problem in coastal areas. Contact your local Cooperative Extension Service for recommended control.

16
HARVEST the garden vegetables regularly. Crops like peas and beans will keep producing when they are picked regularly.
Home gardens are important to the economy and lifestyle of Alaskans. Growing vegetables and flowers is a hobby enjoyed by both old-timers and newcomers in the Far North. New and old alike are delighted by the prolific and colorful blossoms and the rapid plant growth during Alaska’s long summer days.
Many families raise vegetables to reduce their cost of living and relieve the monotony of shipped-in food. Home freezers make a family garden a yearlong source of food. Understanding how to encourage plant growth changes gardening from a chore to a pleasant experience that the whole family can do.
CLIMATE MAKES A DIFFERENCE
Southeast Alaska is rainy and cool, and for successful gardening good drainage is essential. Rows planted on ridges and mounds help drain and warm garden soils. Tile drains and ditches are also helpful.
The summer temperatures of the coastal areas of Bristol Bay, the Kenai Peninsula and the Anchorage area are moderated by winds off the water. Here the soil temperatures are low and rainfall may not be adequate. Clear plastic mulch will conserve moisture and help mature many garden crops by raising the soil temperature. In these areas, choose a garden site that receives full sun.
Much of Interior Alaska, including the Tanana and Matanuska Valleys, is dry in the spring and early summer. Soils are warm, but moisture must be conserved. Here again, a clear plastic mulch is an effective means of conserving moisture and raising the soil temperature.
On garden sites at high altitudes and in many areas north of the Yukon, growing through plastic film may be necessary to mature a garden crop.
PLAN A GARDEN
When building a new home, the first step is to plan carefully and follow that plan. Successful growing needs the same kind of planning. When plans are put off until the last minute or neglected altogether, the garden is unorganized, with too much or too little of most crops in all the wrong locations. Good planning, selecting proper vegetable varieties, adequate fertilizer and lime applications, careful planting and good pest control all contribute to a successful garden.
How large should the garden be and how many people is it intended to feed? A well kept 20' x 50' garden will supply enough vegetables for the average family of four.
If less space is available, which vegetables will be left out of the plan?
 Plan a garden using the vegetables the family likes best, trying new crops and varieties.
Plant enough to supply the family all year. Some satisfaction comes from growing a
little extra for the neighbors. A good garden will easily return the cost of the fertilizer,
seed and pest control. The pleasure of working in the garden and eating high-quality
vegetables is an additional dividend.
Plan a garden using the vegetables the family likes best, trying new crops and varieties.
Plant enough to supply the family all year. Some satisfaction comes from growing a
little extra for the neighbors. A good garden will easily return the cost of the fertilizer,
seed and pest control. The pleasure of working in the garden and eating high-quality
vegetables is an additional dividend.
Make an actual scale drawing of the garden and then stick to the plan.
Run rows north and south when possible so both sides of the rows receive maximum sunlight. Plant tall crops such as trellised peas on the north side of the garden where they will not shade shorter vegetables. Plant low crops on the outside edges of the garden, preferably toward the south.
Plant the cole crops — cabbage, broccoli and other hardy vegetables — in the lowest part of the garden, where an early frost is most likely to occur.
Plant beans and other warm-weather crops on the highest, best-drained part of the garden.
Allow ample space between rows and plants of broadleaved vegetables like cabbage, cauliflower, broccoli, Brussels sprouts, turnips, rutabagas and chard. (See the chart on page 19.)
Plan conservatively for each planting of rapidly maturing vegetables like radishes and lettuce. A short row planted every two weeks from June to August will provide fresh radishes and lettuce all season.
Remember: The biggest downfall of a first-time gardener is planting a garden too large to adequately or easily maintain.
CHOOSING A GARDEN SITE
Few people have a large field from which to choose a garden site. If there is plenty of land available, divide the garden plot into two parts and alternate the garden from one side to the other each year. This rotation will help control soilborne pests such as root maggots.
What is the general nature of the soil? Is it sandy, loamy, dry or wet? Crops needing a rich loam will grow poorly on a dry sandy site.
All back yards may not be ideal, but most offer possibilities if managed properly. A well-drained sandy loam with added organic matter is best and involves the least work. Heavy soils are generally wet, cold and hard to work. Light, sandy soils will dry out quickly.
Those who must garden with either of these extremes may partially offset the adverse conditions. For example, heavy, wet soils are often improved through better drainage. An easy method is to work the soil into raised beds or ridges.
An ideal garden site is an open, gently sloping, southern exposure. Although level areas are usually good, they are seldom as free from frosts as sloping land. Often only a few feet of additional elevation will add a number of days to the growing season. If the garden is in a “frost pocket,” plant only frost-resistant vegetables.
Open areas are usually best because they allow sunlight to reach the growing plants. Tall trees or buildings cast long shadows. Trees too close to a garden will also rob moisture and nutrients.
The garden should be near the house where it is convenient and easily reached.
USE OF A WINDBREAK
In areas of Alaska where a breeze is common, a wind-break will greatly improve the productivity of a garden. The soil temperature is raised because of reduced soil evaporation and air temperature is raised because the windbreak traps heat that the wind would normally carry away. A three-sided windbreak 4 to 6 feet high made of heavy clear polyethylene over a wooden frame will allow the sun to penetrate all parts of the garden, eliminating shaded areas. The prevailing winds should strike the windbreak while the side with the lowest elevation is left open to allow the night’s heavy cold air to drain away. A living windbreak is effective but will reduce garden production around the edges as the roots will use moisture and nutrients that would otherwise be available to the garden crop.
TEST THE SOIL
Subsamples are obtained by taking a representative slice from the top 6 inches of soil from eight to ten places in the future garden. Mix the subsamples together thoroughly and place approximately ½ pint of the soil in a container to air dry. Directions for submitting a sample for testing are available at your local Extension office. Follow the recommendations developed from the analysis of the samples for a productive garden. Test every other year to maintain maximum fertility.
SELECTING VEGETABLE VARIETIES
Because of the long summer days and cold soils, many popular vegetable varieties do not perform well in Alaska. To ensure success, choose vegetable varieties that have been tested in and recommended for Alaska.
Ask your local merchant for adapted varieties. If seeds are ordered from a seed house, remember to order in January or February since the spring season is extremely busy at all seed houses. An early order will assure the arrival of the seeds by planting time.
PREPARING THE SOIL FOR A GARDEN
Clear off all coarse surface debris and test for soil moisture before starting to cultivate the garden. The test is made by squeezing a handful of soil into a ball. If the ball sticks tightly together the soil is too wet. Wait a few days. If the soil ball crumbles easily when pressed with your thumb, it is safe to spade without causing damage to the soil structure. Many Alaska soils are low in organic matter and do not have good soil structure. Many sites in Anchorage and the Matanuska Valley are dry and can be worked as soon as the frost is gone.
Small gardens can be spaded and then leveled with a rake. A plot smaller than 10' × 20' seldom justifies “labor saving” machines as it is usually easier to spade a small area than to start a cold gasoline engine.
Spade to a depth of 6 to 8 inches. Several small shovelfuls are better than one large one. Each shovelful must be completely turned over and broken up. Since raking only smooths the surface, all breaking must be done with the spade.
Rototillers have revolving blades that pulverize soil and are popular with home gardeners.
Decomposition of organic matter is very slow in cold soils, and the rototiller helps
break up coarse material. Very little additional smoothing is needed on properly rototilled
soils. An 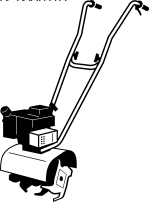 extremely loose surface layer will dry out rapidly. This is good in heavy wet sites
but may be bad on dry, sandy sites. Most soils must be raked smooth to lightly pack
the soil after rototilling.
extremely loose surface layer will dry out rapidly. This is good in heavy wet sites
but may be bad on dry, sandy sites. Most soils must be raked smooth to lightly pack
the soil after rototilling.
Large gardens can be plowed and harrowed or disked. Large rototillers are used by some farmers and may be available for custom work.
In areas protected from wind and water erosion, the garden site may be tilled in the fall. This is a particular advantage when soils are heavy and dry slowly in the spring. When tilling a garden in the fall, leave the soil surface rough to avoid water erosion and rake it smooth in the spring.
LIMING A GARDEN SOIL
The pH, an expression of soil acidity, varies greatly in Alaska. In some areas, soils are very acid. Phosphorus, a major plant nutrient, is very pH sensitive and is, for the most part, unavailable to garden crops when the pH is low. Lime should never be added without a soil test to determine the pH. Most garden vegetables require a pH between 6.0 and 6.5 for the best production. Potatoes do well at a pH of 5.0 to 5.4 and the low pH will help keep potato scab in check.
Ground limestone is graded according to particle size, and the percentage of each size particle is printed on the bag label. The smaller the particle size, the faster the limestone will react in the soil and in turn raise the pH. For the fastest results, purchase limestone that has a large percentage of particles that have passed through fine mesh screen (100 mesh with 100 openings per square inch is a common fine screen). If a magnesium deficiency has been observed in your garden, dolomite limestone should be used when liming to correct the deficiency.
Wood ashes are a good supplement to an application of ground limestone to help raise the pH of acid soils. The analysis of wood ashes will vary depending on the type of wood being burnt. Generally, wood ashes contain about 45 percent calcium carbonate, a form of lime. Additionally, wood ashes will contain 5 to 10 percent phosphorus. Wood ashes should be collected and stored in a dry area. If stored ashes are exposed to the rain, they will quickly lose a portion of their nutrient value due to leaching.
FERTILIZING THE GARDEN
A garden harvest will be in proportion to the fertility of the soil, providing other factors are favorable. AIaska’s soils, like most other soils, need fertilizers for good yields.
The oldest and most common fertilizer is manure, and if it is available, it can be used. Horse manure, however, should be avoided because of the presence of weed seeds. A minimum application of a half pound per square foot is recommended for Alaska soils. A newly cleared sandy soil will need four times this amount. Well-rotted manures should be used. Manures often contain viable weed seeds. For two years prior to the planting of potatoes an application of manure is not recommended since manure may encourage potato scab.
When manure is not available, compost is a suitable substitute. Compost is decomposed vegetable matter. The UAF Cooperative Extension Service has several excellent publications on composting.
There are a number of commercially bagged fertilizers made from either organic or inorganic materials. All commercially bagged fertilizers contain known amounts of nitrogen, phosphorus and potassium. Each package bears a label specifying its contents in percent, for example, 10-20-10. This number tells the amount of each element — nitrogen (N), phosphate (P) and potassium (potash) (K), always in this order — contained in the fertilizer bag. For example, each 100 pounds of 10-20-10 fertilizer contains 10 pounds of nitrogen (N), 20 pounds of phosphorus (P) and 10 pounds of potassium (K).
After the garden has been tilled, fertilize as recommended by the soil test or broadcast
a complete fertilizer (examples: 8-32-16, 10-20-10) at a rate of 5 to 6 pounds per
100 square feet, working it into the top 2 inches of garden soil. Both nitrogen and
potassium will injure seed and the roots of plants on contact, so thoroughly mix the
fertilizer into the seedbed. For equal results using approximately one-half the fertilizer,
place a band of complete fertilizer 2 to 3 inches away from and parallel to the row
and 1 inch below the seed at a rate of 2 pounds per 30 feet of row. If  the garden has been fertilized for several years at this rate, one-half the recommended
application should be adequate. Watch the root crops; if they are thinned properly
and grow luxuriant tops but not bottoms, the fertilizer application is probably too
heavy.
the garden has been fertilized for several years at this rate, one-half the recommended
application should be adequate. Watch the root crops; if they are thinned properly
and grow luxuriant tops but not bottoms, the fertilizer application is probably too
heavy.
Most commercial fertilizers are applied dry as they come from the bag, so the plant food is not immediately available. With a water-soluble fertilizer the plant food is immediately available. This is recommended for use in greenhouses and for transplants. Fertilizers that contain a high percentage of plant food are better buys because less filler is being shipped. Plant foods containing a total of more than 40 percent nutrient are usually the best buy.
MICRONUTRIENTS
There may be a boron deficiency in beets grown in soils at locations in Southcentral and Interior Alaska. Carrots, turnips, rutabagas, celery, cabbage, cauliflower, broccoli and Brussels sprouts may also respond to boron on certain soils.
If you want to try boron, test on a small area first. If a favorable plant response occurs, then go ahead and use it on larger areas. For boron, apply borax at the rate of not more than 9 pounds per acre or 1½ teaspoons per 100 square feet once every three years. (Never apply boron on beans, cucumbers, peas, squash or tomatoes.)
Whiptail, a molybdenum deficiency that causes the leaves of cauliflower and broccoli to become curled and very deformed, has been observed in the Matanuska Valley and in the Fairbanks area. This deficiency is more likely to occur in certain acid soils under heavy fertilization. If these symptoms have been seen, apply molybdemun at a rate of 4 ounces to 2.5 pounds per acre (.009 to .09 ounces per 100 square feet) depending on recommendations from your Extension agent or experiment station personnel. To ensure uniform distribution of micronutrients, mix with other fertilizers before spreading. EXTREME CARE must be used when applying micronutrients to guarantee against over application. Even small amounts may be toxic.
STARTER SOLUTIONS
Alaska’s short, cool growing season makes it important that transplants get a good start that can be aided by using a fertilizer starter solution. Starter solutions may be purchased at a local garden center and are highly concentrated water soluble fertilizers with an analysis such as 10-52-17. Fertilizers high in phosphorus are needed for root development, and plant roots are always injured during the transplanting process. These fertilizers should be mixed according to directions on the label. Pour ½ cup of starter solution in each hole before the transplant is set. Setting the plant first and then watering sometimes causes undesirable soil cracks.
Another effective starter solution is made by placing cow manure in a large container and adding water. Let this stand for a week or more, stirring occasionally. Use a pint to a quart of this “manure tea” for each plant.
PREPARE THE SEEDBED
The final step before sowing the seed is to rake the soil surface smooth. A fine-textured, smooth soil surface will insure good seed-soil contact and good germination.
RAISING SOIL TEMPERATURES
In Alaska, any practice that will raise the soil temperature will improve the chances of a successful crop.
Plant the rows in your garden in a north-south direction. This eliminates the shading and resulting cooler soil on the north side of an east-west row.
Planting on a mound helps increase the soil temperature when the sides slope at right angles to the sun’s rays during the warmest part of the day.
The sides of the mound must be 10 to 12 inches high to effectively raise the soil temperature. The mound should be at least 12 inches across at the top, which is wide enough to plant two rows of many crops. If the ridge is too narrow, the mound will dry out quickly. Rapid changes from wet to dry may place undue stress on the plants. The wider mounds will warm more slowly, but a constant warmer temperature with an adequate level of soil moisture will produce healthier plants and mature a crop sooner.
In Southeast Alaska where rainfall is high, the mounds provide both adequate drainage and a warmer soil, which are needed to produce a successful garden crop there.
Another effective method used to raise soil temperatures is the use of clear polyethylene plastic mulch. The advantages of a clear plastic mulch are higher soil temperatures, faster and better germination, and reduced evaporation. Plastic also provides an extended growing season because spring frosts are not as critical when the plants are under polyethylene. The early start accelerates growth and early maturation.
Green beans and other broad-leaved plants must be released from under the plastic as soon as the seed leaves break the soil surface, or the leaves will sunburn. Clear plastic mulch fosters faster and more complete germination, and for sweet corn protects the young seedlings from frost. Soil under the plastic loses very little water through evaporation, and the soil heat is not dissipated by the wind. On sunny days soil temperatures have been found to differ by 30 degrees between clear plastic mulch areas and unmulched plots.
When applying clear polyethylene mulch, prepare the soil, fertilize and plant the seed as you normally would, then spread a 3- or 4-foot-wide sheet of 1.5 to 2 mil plastic centering it on the row.
Fold back the edge of the plastic 6 inches and dig a trench. Then place the soil over the plastic now in the trench. Be sure to keep the plastic taut and don’t forget to fasten the ends down the same way or the weeds will push the plastic up as they grow. When the crop is up, slit the plastic mulch and gently pull the leaves through.
The problem of weed control does exist because the clear plastic does not eliminate weed growth. The weeds under the plastic do not seem to produce viable seed to reinfest the soil and do not seem to use sufficient plant food and moisture to affect the crop. Excessive weed growth under the plastic will shade the soil surface and reduce warming.
Herbicides are available but are not generally recommended for small home gardens.
Organic and black plastic mulches control weeds but are not recommended in Alaska for warm season crops because they also depress the soil temperature by shading the soil from the sun’s rays.
STAKING AND PLANTING THE GARDEN
When the raking has been completed, lay out the garden as on the initial plan, measuring off and marking both ends of each row with stakes. A strong string stretched between stakes will serve as a guide to keep rows straight and neat. Small gardens are easily planted by hand.
Shallow furrows can be made with the end of a hoe or rake handle and deeper furrows made with the corner of a hoe.
The seed should be planted at a depth equal to two times the seed diameter. This means that small seeds will have very little soil covering them. Large seeds such as beans and peas may be planted about ¾ of an inch deep. Lettuce and celery seeds require light for germination.

Seeds should be spaced apart at least four times their diameter. A common error is to plant too many seeds. A healthy lettuce plant, for example, eventually needs at least 12 inches of space. Why plant 100 seeds where only one will grow well?
Press the soil to firm it so the seed is in good contact with the moist soil.
When the band method of fertilizing is used, make a second furrow 2 to 3 inches away from and parallel to the first one and 1 inch deeper. This will keep the seed from coming in direct contact with the fertilizer, and as the young tap roots grow, they will not grow down through the concentrated band of fertilizer.
USING TREATED SEED
When a seed sprouts, the young shoot is often attacked by fungi and other microorganisms. These soil organisms are ready to attack as the tiny sprout emerges from its protective seed coat. In wet soils, many seedlings are killed by these microorganisms.
Some seed companies make a regular practice of treating seeds before they are packaged. These seeds are well worth buying and cost no more than untreated seeds. If treated seed is unavailable, a gardener can treat his own by purchasing a “seed protectant” at a garden center. Apply the protectant according to the directions on the label of the packet.
THINNING SEEDLINGS
Thinning is a practice necessary to reduce the plant population to allow maximum growth. Root crops — carrots, beets, radishes, turnips, rutabagas — grow well in Alaska but must be thinned, otherwise they will grow luxuriant tops and no bottoms. Crowded plants are also more susceptible to bolting. Thinning should be a gradual process over a number of weeks, beginning shortly after the first seedlings appear. The young seedlings should be thinned so the leaves do not overlap. As the plants continue to grow, the leaf thinnings of lettuce make good salads and the beets make good greens. By the last thinning the plants of root crops should be at least 4 inches apart.
WEEDS AND CULTIVATION
Among the worst enemies of any garden are weeds. These are plants not wanted in the garden. They compete for soil moisture, plant nutrients and sunlight.
Weeds are also detrimental because they often host disease organisms and insect pests. Most weeds are more aggressive than garden crops because through the years they have become acclimated to the areas in which they are found. Garden crops are usually grown out of their native habitat. Dormant weed seed found in garden soils will outnumber the garden seed planted by hundreds of times.
It is far easier to prevent weed growth than eliminate it after it has become established. A number of precautions may be taken to prevent initial weed growth.
- Prevent the weed growth in and near the garden from going to seed. Mowing these areas before the weeds have gone to seed will prevent reseeding. This practice is particularly important around the perimeter of the garden.
- Avoid using manures that have not been composted, because untreated manure contains viable weed seed. In Alaska, chickweed seed is particularly prevalent in horse manure.
- Check the pots of plants imported from outside of Alaska for weeds. This is one way new species of weeds are introduced into an area.
- Plant your garden immediately following a cultivation; this gives your garden seed a chance to germinate before the weeds are already up. Many garden seeds will germinate slower than weed seed.
Most weed control in a home garden is done by hand weeding and cultivating. Chemical weed controls (herbicides) are available but are designed for use in large areas where sophisticated equipment can be calibrated to make precise uniform applications. Most home gardens are not laid out for an effective use of such herbicides. If you decide to use herbicides in your home garden, carefully check application rates and read the label carefully before making the application.
Remember: Herbicides are plant killers, and a mistake in application may also kill desirable garden or native plants.
The best time to hand weed is when the soil is moist and weeds are easily removed with their entire root system. When all the roots are not destroyed, some plants have the ability to send up new shoots. If the weeds are removed when they are small, the roots of the garden seedlings will not be disturbed.
Deep cultivation, through the use of a cultivator and hoeing, destroys the weeds but also the roots of the garden plants. This in turn reduces the yield and the ability of plants to withstand drought. When cultivating seedlings, be careful not to cover the young plants, as the soil cover may kill them. Deep cultivation is not necessary for weed removal because weeds should be removed when they are small. Additionally, deep cultivation brings deeply buried weed seed to the soil surface where it will germinate.
Correct cultivation not only controls weeds, it also prevents the soil from crusting and allows air movement through the soil that is needed for healthy root growth. A loose, crumbly soil is better able to soak up the rainfall that helps prevent soil erosion.
Remember that short and frequent trips to the garden make weeding and cultivation less laborious and gardening more enjoyable.
 Watering is especially important during dry, spring months when lack of water delays
germination.
Watering is especially important during dry, spring months when lack of water delays
germination.
Many factors determine when and how much water should supplement natural rainfall. Light, sandy soils lose water quickly and need frequent irrigation. Heavy soils and soils high in organic matter hold water for a long time and therefore need less irrigation. The gardener has to decide about his own soil.
The second consideration is the weather. Cooler weather means less water loss through evaporation and transpiration, reducing the demand for irrigation. Hot, dry, clear or windy weather increases the need for irrigation. It is preferable to water early in the morning when the temperature is cool and the sun is not bright. Watering late in the day will leave the foliage wet during the night, encouraging fungus diseases. Even though well water and river water may be cold, it does not greatly influence plant growth when applied by a sprinkler. The fine droplets of water leaving a sprinkler head warm quickly enough to reach the wet bulb temperature a few degrees cooler than the air temperature.
Sprinkler irrigation is superior to furrow irrigation unless your house does not have a pressure water system. With furrow irrigation, the field must be level to allow for an even water distribution.
Soak the soil whenever the root zone is dry. A few heavy waterings are better than frequent light waterings, which encourage shallow roots. To know when to water, test the soil by squeezing a small handful. If it does not hold its shape when released, water is needed. When the soil holds its shape but crumbles easily, there is still moisture available for plant growth. The test should be made daily from then on.
If the soil ball sticks firmly together, there is ample moisture for several days. When plants show signs of wilting, water at once.
CONTROLLING INSECTS IN THE GARDEN
Alaska is relatively free of insects that attack vegetable crops. To avoid problems that are not common to Alaska, carefully check new plants that have been grown out of state. These plants may introduce new problems to your garden. Alaska has only two common vegetable garden insect pests, the cutworm and the root maggot. Both insects are destructive to garden crops as larvae living in the soil. Slugs may also be a problem in the coastal areas of Alaska.
CUTWORMS are the larvae of small moths. Many species are found in Alaska. Color and markings are variable. Cutworms often chew off newly set garden plants, particularly cole crops, at the ground level and eat holes in the leaves of other plants. Most damage is done from late May to mid-June.
ROOT MAGGOTS, onion maggots, seed corn maggots and turnip maggots are the larvae of small flies and are common in Alaska. The last is most widespread and usually does the most damage. They attack turnips, radishes, cabbage, cauliflower, broccoli, Brussels sprouts and rutabagas from late May throughout the summer.
The UAF Cooperative Extension Service has a variety of publications on controlling vegetable garden weeds and insects.
HARVESTING AND STORING
Vegetables should be harvested in their prime. Do not wait until they are overmature. Harvest only the best for canning or storing. Crops are never improved by storing. Handle vegetables gently. Clean completely and put them into a cool place at once. Do not harvest more than can be prepared at one time.
Home freezers have simplified the storage of many vegetables. They make garden-fresh crops available all year around. Canning is still a good way to preserve many vegetables.
The UAF Cooperative Extension Services has numerous publications on food preservation, including freezing, canning and drying.
GROWING TRANSPLANTS
A warm, sunny window, some well-prepared soil and a container are the principal materials
 needed to start early vegetable plants for the family garden.
Soil for starting transplants should be taken inside before fall freeze-up and stored for spring use. One part garden loam, one part coarse sand and one part peat, well mixed together, make an excellent mixture. A good potting soil should be well-drained, which will help prevent soilborne diseases.
Before sowing the seed, the soil should be pasteurized to kill harmful soil organisms and weed seed. Pasteurization will control the common soilborne disease known as “damp-off” if the treated soil is placed in a clean container and not recontaminated.
To pasteurize soil, place 6 to 8 inches of well moistened, but not wet, soil in a large covered kettle. Insert a meat thermometer into the center of the soil. Preheat the oven to 300°F and heat until the soil reaches a temperature of 180°F. At that temperature, continue heating for an additional 30 minutes.
Do not allow the soil temperature to go above 180°F since the high temperatures will kill beneficial soil organisms and cause a breakdown of nutrients into substances toxic to plants.
A microwave oven may be used if it is equipped with a temperature probe. Fill a 2-quart or larger casserole with well moistened soil, inserting the probe into the center. Set the oven at 180°F. When the oven automatically shuts off, leave the covered casserole in the closed oven for 30 minutes.
Note: Do not attempt to pasteurize smaller quantities of soil. Microwave ovens without a temperature probe cannot be used to pasteurize soil because the temperature of the soil cannot be regulated.
Commercially prepared mixes ready for planting that have been sterilized and placed in a sealed bag are available.
FLATS — A convenient-size flat is approximately 1½ inches wide, 21 inches long, and 2½ inches deep. The exact size is not important, but it should not be too large since damp soil is heavy and large flats are difficult to handle. Shallow cans or pans are good if holes are punched in the bottom for drainage. The flats should be new or made of a material that is easily sterilized to prevent the spread of disease. Household bleach is a good disinfectant to use for sterilizing plant containers. Use one part household bleach for each nine parts of water and soak the containers for one-half hour. Do not use them until they are thoroughly dry. Firm the soil along the edges when filling flats. This prevents a crack next to the sides where water can run out without benefit to the plants. Fill to within ½ inch of the top with the prepared soil. Make the rows 2 inches apart and ½ inch deep across the narrowest portion of the flat. A narrow board cut to fit the flat is a good row marker.
SEEDING FLATS — Sow treated seed, when it is available, according to the instructions on the packet. Small seeds can be sown evenly and rapidly from the lip of packet. Larger seeds are planted individually. Do not sow too thickly. Cover the larger seed lightly; very fine seed not at all. Sprinkle the surface with a fine spray to make a good seed-to-soil contact. Cover the flat with clear plastic or glass to retain the surface moisture until the seed has germinated.

Conditions experienced during the first few days after emergence influence the growth of new plants throughout their life. The temperature range for seedlings should be between 65° and 75°F during the day and 50° to 60°F during the night. The cool night temperature prevents leggy growth in young seedlings.
New roots and shoots are extremely tender, so avoid fertilizing until the first true leaves start to appear. Then apply a water-soluble fertilizer high in phosphorus to encourage good root growth. Apply the solution at the rate the label recommends. After the first true leaves have developed, some rows will be too crowded. Start at one end of the flat and systematically thin out until there is ½ inch space between plants. This spacing allows the air to circulate around each seedling, which will help keep the foliage dry and reduce the chances of a disease attack.
To save space, new plants are often grown in the original seeding flats until their first true leaves appear. The seedlings are then transferred to individual containers or to other flats where they should be spaced on 2-inch intervals. The plants are grown in these flats until the garden is ready.
A biweekly watering with a starter solution will keep them healthy and vigorous. A good transplant should be short, stocky and vigorous when planting time arrives.
NUTRIENTS IN ONE POUND FRESH VEGETABLES
(Based on figures in USDA Handbook No. 8)
| Calories | Protein (grams) | Fat (grams) | Carbohydrate (grams) | Vitamin A (IU) | Ascorbic Acid (mg) | |
|---|---|---|---|---|---|---|
| Asparagus | 66 | 6.4 | — | 12.7 | 2,290 | 84 |
| Beans, snap | 128 | 7.6 | .8 | 28.3 | 2,400 | 76 |
| Beets | 78 | 2.9 | .2 | 18.0 | 40 | 18 |
| Beet greens | 61 | 5.6 | .8 | 11.7 | 15,490 | 76 |
| Broccoli | 89 | 10.0 | .8 | 16.3 | 6,920 | 313 |
| Brussels sprouts | 188 | 20.4 | 1.7 | 34.6 | 2,300 | 426 |
| Cabbage | 86 | 4.7 | .7 1 | 9.3 | 470 | 169 |
| Carrots | 112 | 2.9 | .5 | 26.0 | 29,440 | 21 |
| Chard | 104 | 10.0 | 1.3 | 19.2 | 27,120 | 132 |
| Corn, sweet | 240 | 8.7 | 2.5 | 55.1 | 1,000 | 31 |
| Cucumber | 65 | 3.9 | .4 | 14.7 | 1,080 | 48 |
| Kale | 128 | 14.1 | 2.7 | 20.1 | 29,880 | 420 |
| Kohlrabi | 96 | 6.6 | .3 | 21.9 | 70 | 219 |
| Lettuce, iceberg | 56 | 3.9 | .4 | 12.5 | 1,420 | 28 |
| Lettuce, looseleaf | 52 | 3.8 | .9 | 10.2 | 5,520 | 54 |
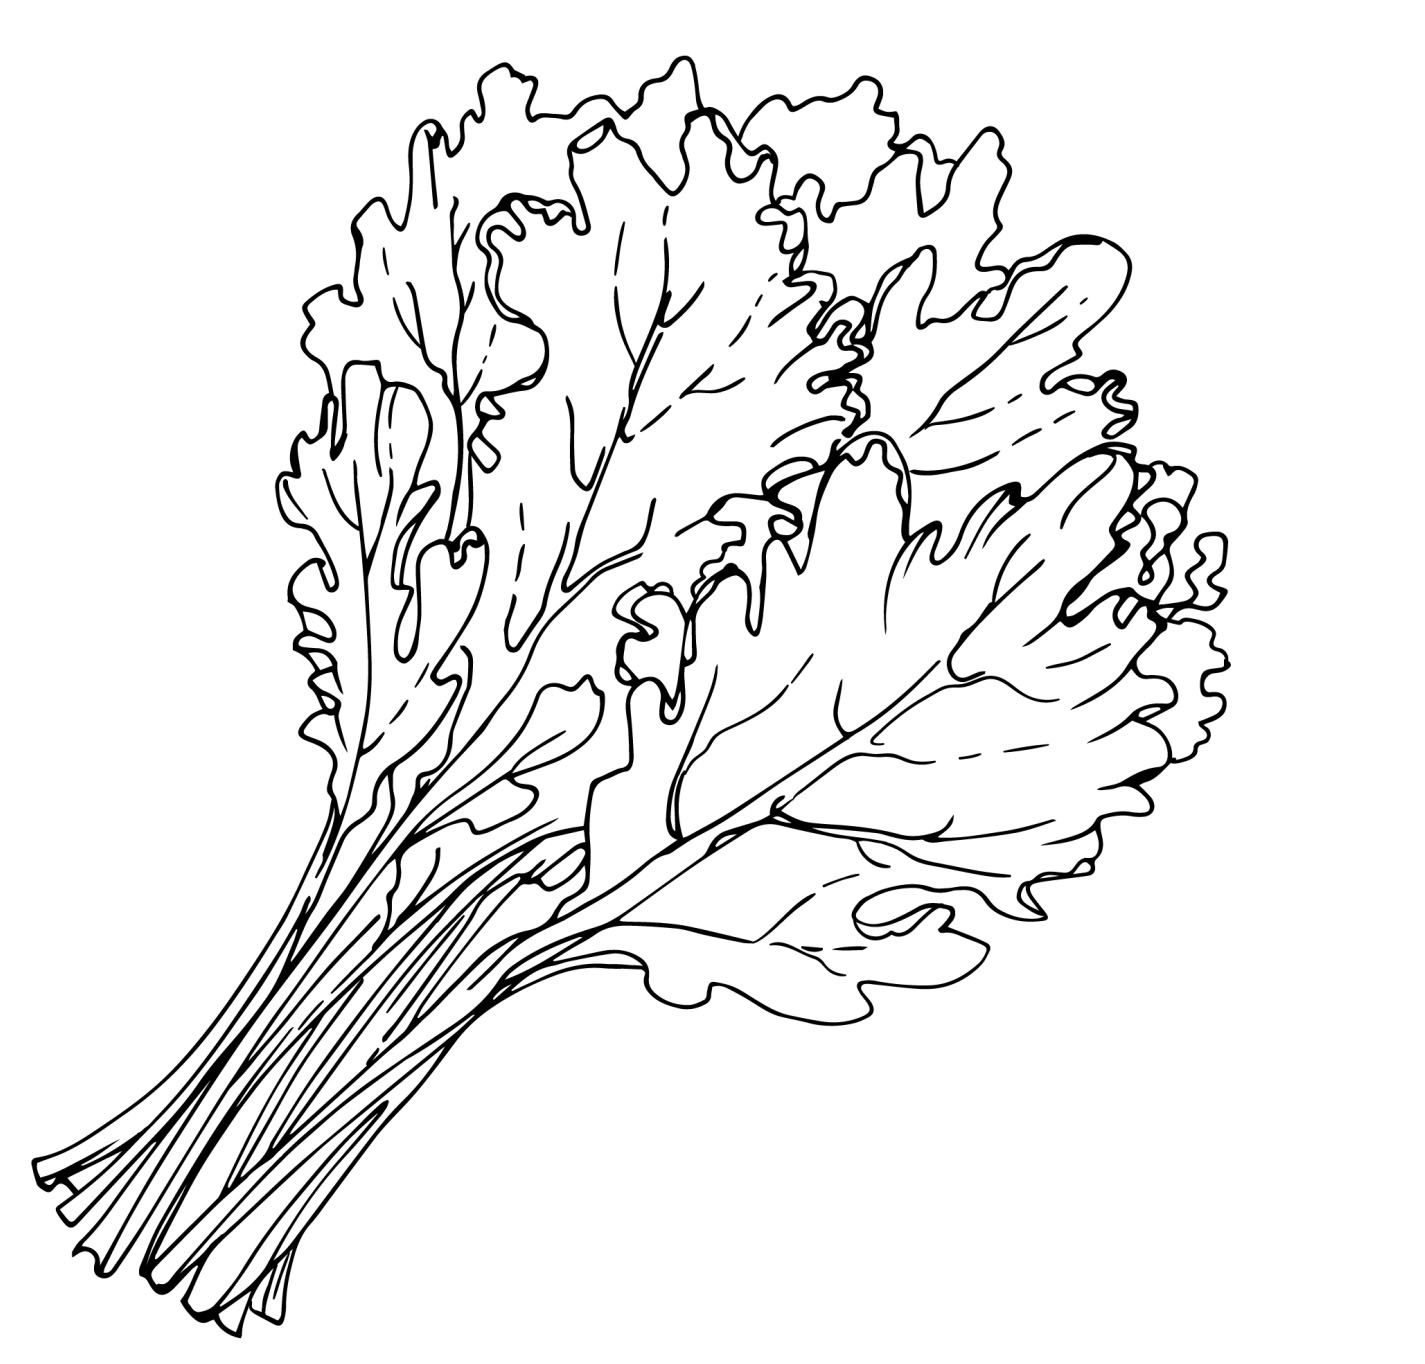
| Mustard greens | 98 | 9.5 | 1.6 | 17.8 | 22,220 | 308 |
| Onions, bulbing | 157 | 6.2 | .4 | 35.9 | 160 | 42 |
| Onions, bunching | 157 | 6.5 | .9 | 35.7 | 8,710 | 139 |
| Parsley | 200 | 16.3 | 2.7 | 38.6 | 38,560 | 780 |
| Parsnips | 293 | 6.6 | 1.9 | 67.5 | 120 | 62 |
| Peas | 145 | 10.9 | .7 | 24.8 | 1,100 | 47 |
| Peppers, bell | 82 | 4.5 | .7 | 17.9 | 1,540 | 476 |
| Potatoes | 279 | 7.7 | .4 | 62.8 | Trace | 73 |
| Radishes | 69 | 4.1 | .4 | 14.7 | 70 | 106 |
| Rhubarb | 33 | 1.2 | .2 | 7.6 | 200 | 18 |
| Rutabagas | 177 | 4.2 | .4 | 42.4 | 2,240 | 166 |
| Spinach | 85 | 10.5 | 1.0 | 14.0 | 26,450 | 167 |
| Squash, summer | 84 | 4.8 | .4 | 18.5 | 1,800 | 95 |
| Squash, winter | 161 | 4.5 | 1.0 | 39.9 | 11,920 | 43 |
| Tomatoes | 100 | 5.0 | .9 | 21.3 | 4,080 | 118 |
| Turnips | 117 | 3.9 | .8 | 25.7 | Trace | 140 |
| Turnip greens | 127 | 13.6 | 1.4 | 22.7 | 34,470 | 628 |
HARDENING — To reduce transplant losses, plants should be “hardened off” before the move to the garden. This is a transition period between the warm, moist house and the rigorous weather of the garden.
Ten days before transplanting time, start reducing the amount of water and the air temperature. A good day-time temperature is 60°F during the hardening period.
Carry the flats outside for two or three hours during the warmest part of the day; the plants must be partially shaded from direct sunlight. Lengthen time outside by about an hour a day, and gradually reduce the amount of shade until at the end of ten days they are out all day long.
When transplants are grown in flats, cut the soil in both directions between the rows to form 2-inch squares. Always use a sharp knife, and make the cuts several days before the plants are set in the garden. After cutting, water the plants thoroughly since many small roots are injured during this operation. Root pruning several days before the actual transplanting gives the plants a chance to recover before exposure to the sun and wind. Plants that are grown in individual containers can be transplanted to the garden with very little root injury.
TRANSPLANTING — Transplanting is best done in the late afternoon to give the plant time to recuperate from the water loss before being subjected to the bright sun.
First mark the location where the plants are to be set and always allow ample room. Although they look small, they will soon need plenty of space to grow. See the planting chart for suggested spacing. The corner of a hoe can be used to dig holes. One or two motions will dig a hole about the right size for a 2" × 2" soil ball.
 When transplanting time arrives, LIFT the transplants from under the root ball, DO
NOT PULL. Immediately place the transplant in a hole deep enough to allow the stem
to be planted just slightly deeper than before. Then firm the soil and water with
a starter solution. Do not dig the holes in advance. The use of peat pots is not recommended
in Alaska, but if they are used the seedlings must be removed from the pots before
being transplanted in the garden because peat pots do not break down in Alaska’s cold
soils.
When transplanting time arrives, LIFT the transplants from under the root ball, DO
NOT PULL. Immediately place the transplant in a hole deep enough to allow the stem
to be planted just slightly deeper than before. Then firm the soil and water with
a starter solution. Do not dig the holes in advance. The use of peat pots is not recommended
in Alaska, but if they are used the seedlings must be removed from the pots before
being transplanted in the garden because peat pots do not break down in Alaska’s cold
soils.
DATES FOR STARTING SEED FOR GROWING YOUR OWN TRANSPLANTS
The rule of thumb for determining dates for starting seeds to grow transplants is to count back the required number of weeks from the average last killing frost. For example, if June 1 is the last average killing frost, count back six weeks to April 20 and start cabbage seeds on this date. The following table gives the number of weeks required to grow the commonly used vegetable transplants for Alaska.
10-12 weeks — celery
8 weeks — Tanana tomatoes
Brussels sprouts
6 weeks — eggplant*
peppers
other outdoor tomatoes
4-6 weeks — cabbage
cauliflower
broccoli
head lettuce (if early crop desired)
kale (if early crop desired)
3 weeks — summer squash*
cucumbers*
pumpkin*
*These plants are difficult to transplant successfully, and care must be taken not to disturb the roots. Plant three seeds in 3- to 4-inch pots and pick off all but the most vigorous one after they germinate; leave one plant per pot to transplant directly to the garden.
If peat pots are used, seedlings must be removed from the pots when transplanted to the garden because peat pots do not break down in Alaska's soils.
Vegetables that may be seeded directly in the garden up to two weeks prior to the last killing frost with little danger of loss are:
- beans
- peas
- beets
- potatoes
- carrots
- radishes
- chard
- rutabagas
- corn (under plastic)
- parsley
- kale
- parsnips
- kohlrabi
- spinach
- lettuce
- turnips
- mustard
- zucchini
- onions, green
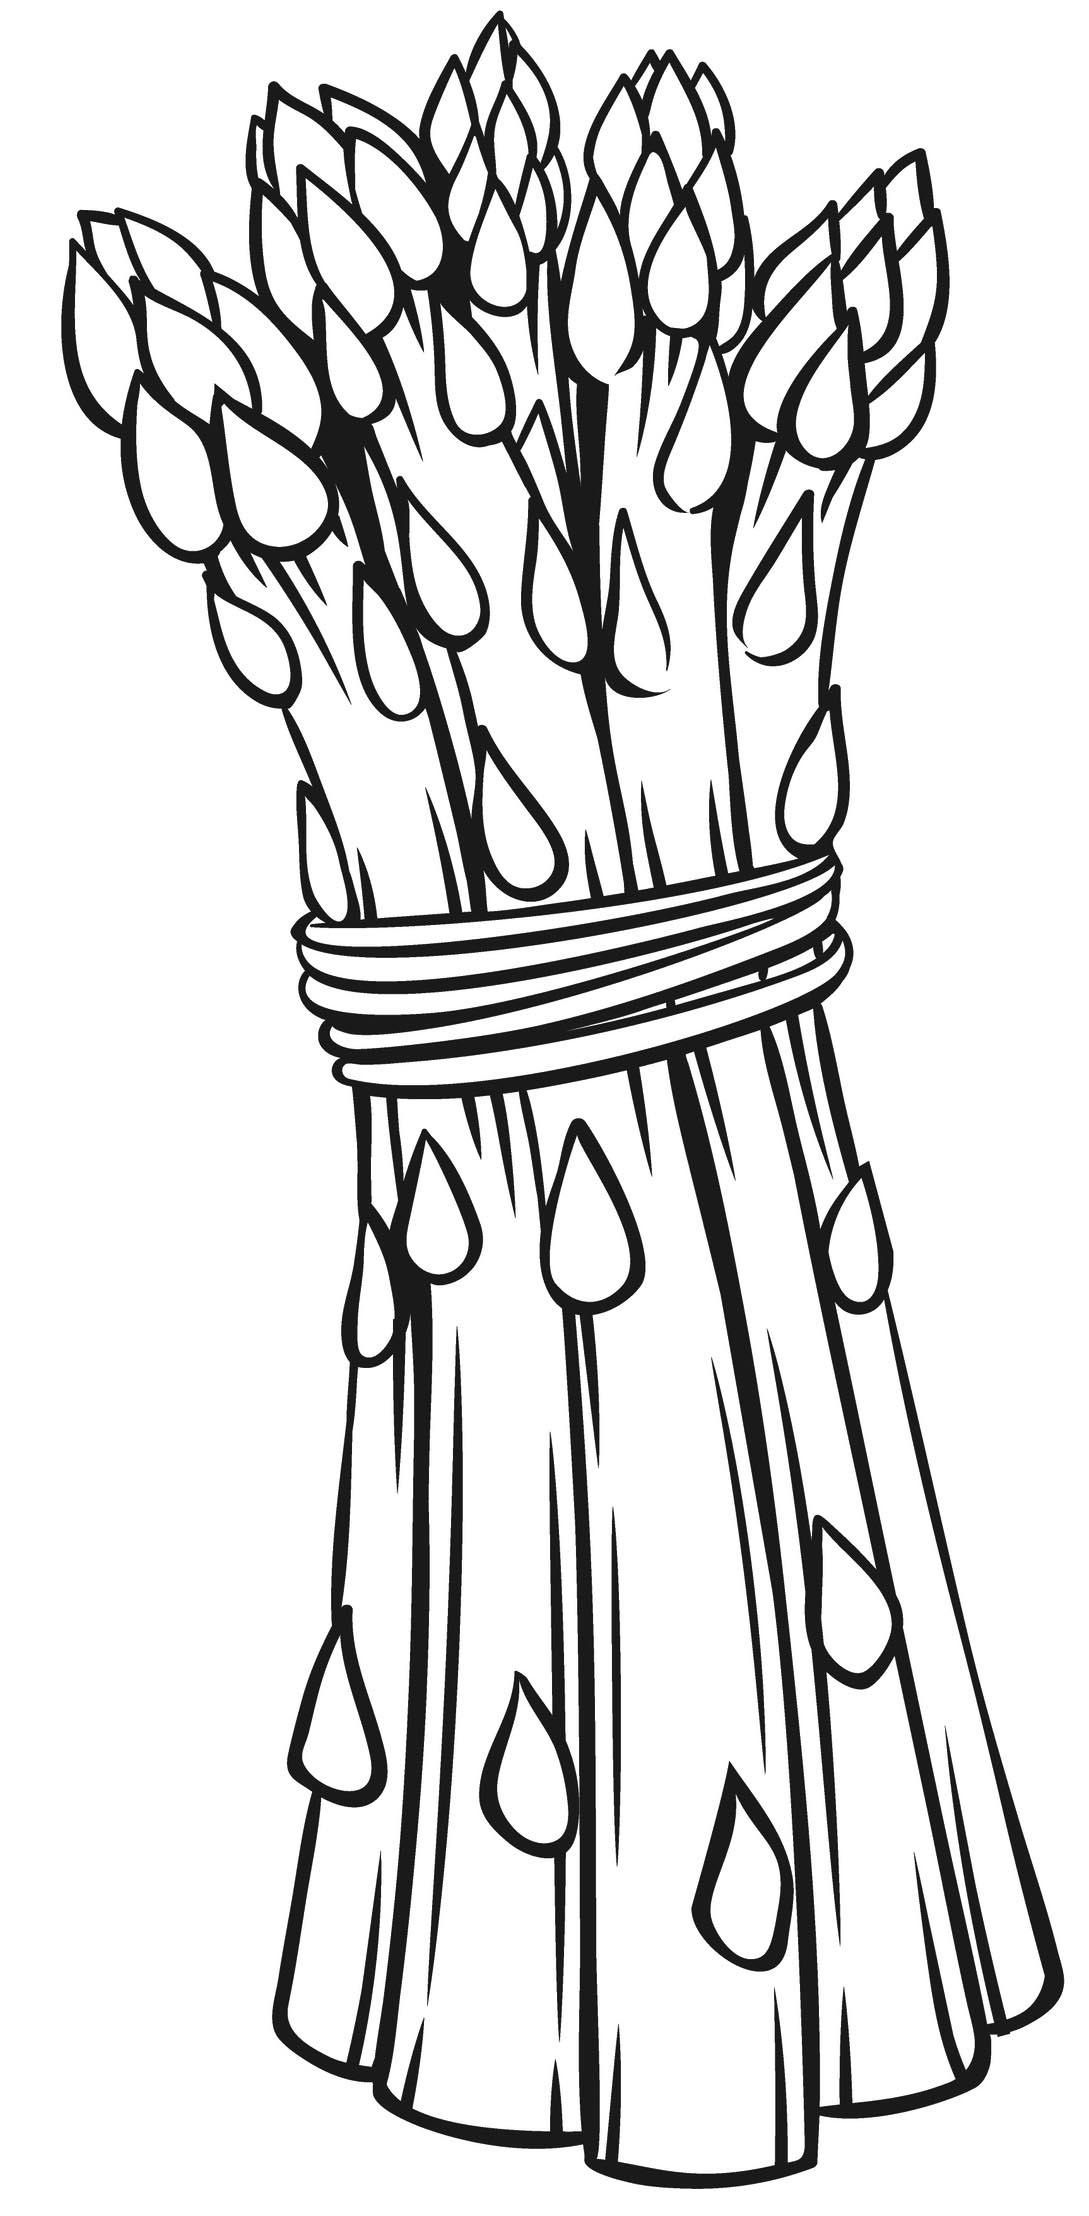 ASPARAGUS — This perennial vegetable grows in favorable locations with care and maintenance.
A few plants along the side of a house, next to the foundation, may yield several
meals for the family. Asparagus is a heavy feeder and demands ample water. Asparagus
is propagated from crown or seed and may be ordered from a seed house.
ASPARAGUS — This perennial vegetable grows in favorable locations with care and maintenance.
A few plants along the side of a house, next to the foundation, may yield several
meals for the family. Asparagus is a heavy feeder and demands ample water. Asparagus
is propagated from crown or seed and may be ordered from a seed house.
Set the crowns 5 to 6 inches deep and cover them with about 1 inch of soil. Continue covering the plant with an inch of soil each time the shoots appear until the soil is level. Do not cut the spears the first two years, and the third year cut sparingly. The tops should be allowed to grow at least six weeks between the last harvest and the first fall frost.
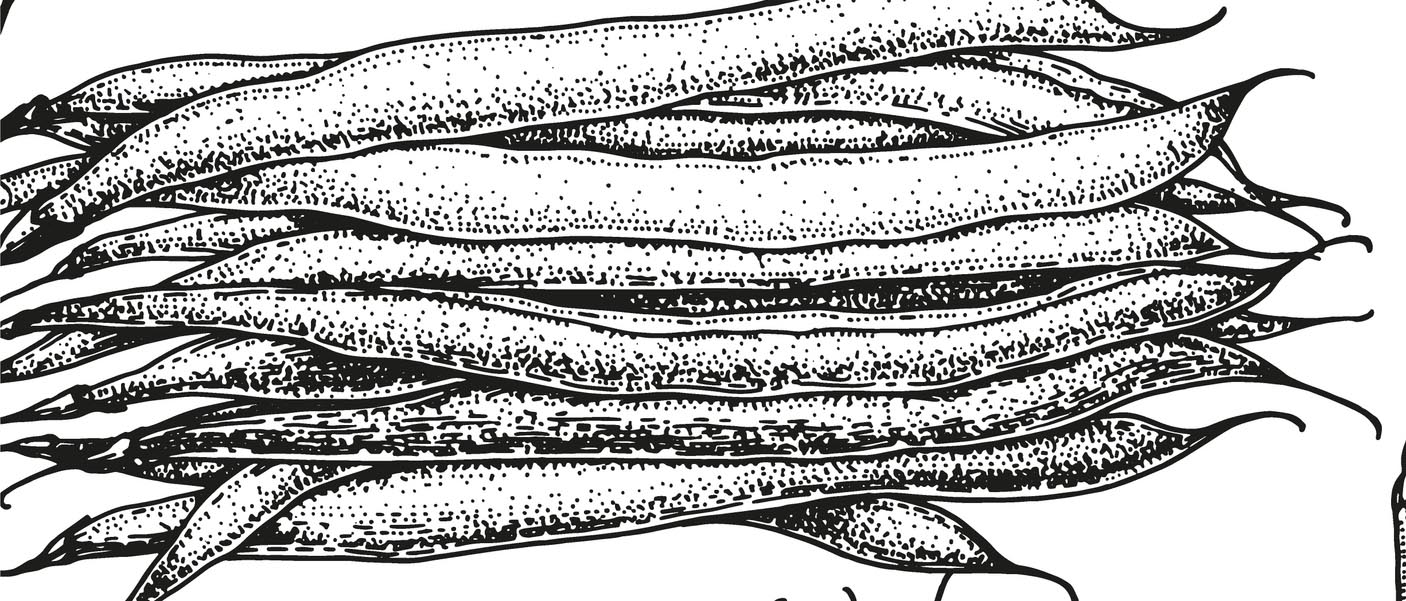 BEANS — Although beans are a marginal crop in much of Alaska, both green podded and wax
podded varieties are popular. In most places the season is long enough. Cold soil
temperatures retard growth, and the beans do not mature. Yields are good during warm
summers when they are planted through clear polyethylene plastic mulch.
BEANS — Although beans are a marginal crop in much of Alaska, both green podded and wax
podded varieties are popular. In most places the season is long enough. Cold soil
temperatures retard growth, and the beans do not mature. Yields are good during warm
summers when they are planted through clear polyethylene plastic mulch.
Caution: Green beans must be released from under the plastic as soon as the seed leaves break the soil surface. Good crops of green beans can be expected every year in the Interior.
Light, well-drained, sandy soils are best for beans. Light applications of commercial fertilizer are needed. However, too much fertilizer causes the blossoms to drop off. Beans freeze easily. Early plantings must be protected at night when the temperature falls to near freezing. In warm soils beans germinate in three or four days. Cool soils or cold weather may delay their emergence for ten days or more. Do not cultivate after the blossoms appear.
Avoid working in beans when the plants are wet.
BEETS — Beets are hardy and not harmed by light frosts. Because of Alaska’s long days,
beets often bolt; that is, they blossom and set seed the first year without growing
a good root. When beets start to bolt, they are always of poor quality, and there
is no way to stop the blossoming 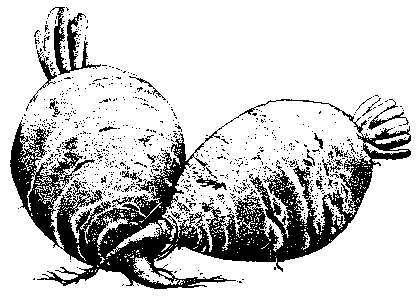 once it is started. Recommended varieties have performed satisfactorily in the Interior
but may bolt in the cooler regions of Alaska. Late planting and thinning reduces bolting.
once it is started. Recommended varieties have performed satisfactorily in the Interior
but may bolt in the cooler regions of Alaska. Late planting and thinning reduces bolting.
Soil requirements are not critical. A fairly deep, friable loam is best. It must be well drained and fertilized heavily for rapid growth. If adequate moisture is not available or they are not thinned properly, the roots will be tough and woody.
A beet “seed” is really a cluster of seeds. For this reason beets must be thinned as soon as their first true leaves appear. Pull all the extra little beets, leaving only one in each cluster. Space them so their leaves do not touch. When the tops are 6 to 8 inches tall and the beets an inch in diameter, they must be thinned again, leaving the plants at 4-inch intervals.
Use the thinnings as greens, cooking both tops and roots. Frozen beet greens are excellent. For best quality, use beets when they are 2 inches in diameter.
Two plantings can be made in some areas. The first should be made when the garden is first planted, and the second planting should be made in early July.
 BROCCOLI — Broccoli, like other cole crops, is hardy and grows best in cool weather. It is
particularly well adapted to Alaska, as is cabbage and cauliflower.
BROCCOLI — Broccoli, like other cole crops, is hardy and grows best in cool weather. It is
particularly well adapted to Alaska, as is cabbage and cauliflower.
The terms “broccoli” and “green sprouting broccoli” refer to the same plant, as “broccoli” was originally a large cauliflower. Unopened flower buds form the “head” of broccoli and the “curd” of cauliflower.
Broccoli may be seeded directly in the garden or started early indoors in flats. A dozen plants are enough for a family of five. Broccoli must be protected against root maggots and cutworms. Harvest the central or terminal head before the buds start to show yellow. New lateral heads will continue to form. These must be harvested continuously for sustained yields. Broccoli is an excellent frozen vegetable, high in both vitamins A and C.
Soil requirements are not critical, but plenty of moisture and fertilizer is needed. Side dress with nitrogen twice during summer.
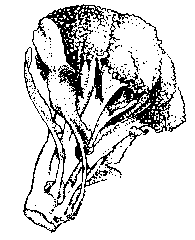
 BRUSSELS SPROUTS — Buds form little heads where the leaves join the stems. These are the edible part
of this plant. These miniature heads taste somewhat like cabbage. They freeze well
or may be canned or pickled. Because of their small diameter, Brussels sprouts dry
out quickly when stored in a basement. This vegetable should be started early indoors
and transplanted to the garden. In some areas, Brussels sprouts may be seeded directly
in the garden, although the crop is usually late.
BRUSSELS SPROUTS — Buds form little heads where the leaves join the stems. These are the edible part
of this plant. These miniature heads taste somewhat like cabbage. They freeze well
or may be canned or pickled. Because of their small diameter, Brussels sprouts dry
out quickly when stored in a basement. This vegetable should be started early indoors
and transplanted to the garden. In some areas, Brussels sprouts may be seeded directly
in the garden, although the crop is usually late.
Brussels sprouts mature from the bottom toward the top. Use the sprouts as they reach an inch in diameter. These plants withstand severe frost and persist until late in the fall.
Like most of the cabbage family, rapid growth gives best quality. Ample water and fertilizer is needed throughout the growing season. Seedlings and transplants need protection against cutworms and root maggots.
 CABBAGE — Cabbage may be seeded directly in the garden or grown from transplants. Plants
are usually spaced 15 inches apart in the row.
CABBAGE — Cabbage may be seeded directly in the garden or grown from transplants. Plants
are usually spaced 15 inches apart in the row.
Early cabbage is seeded in flats six weeks before they are to be set out. Cabbage is resistant to frost and grows well in cool soils. Moisture seems to be the most important factor to good growth when temperatures are low. Cabbage grows on sand, muck or heavy soils, but early crops are obtained on sandy soil. At least two side dressings of good commercial fertilizer or ammonium nitrate gives top yields of high quality cabbage.
Cabbage must be protected against cutworms and root maggots.
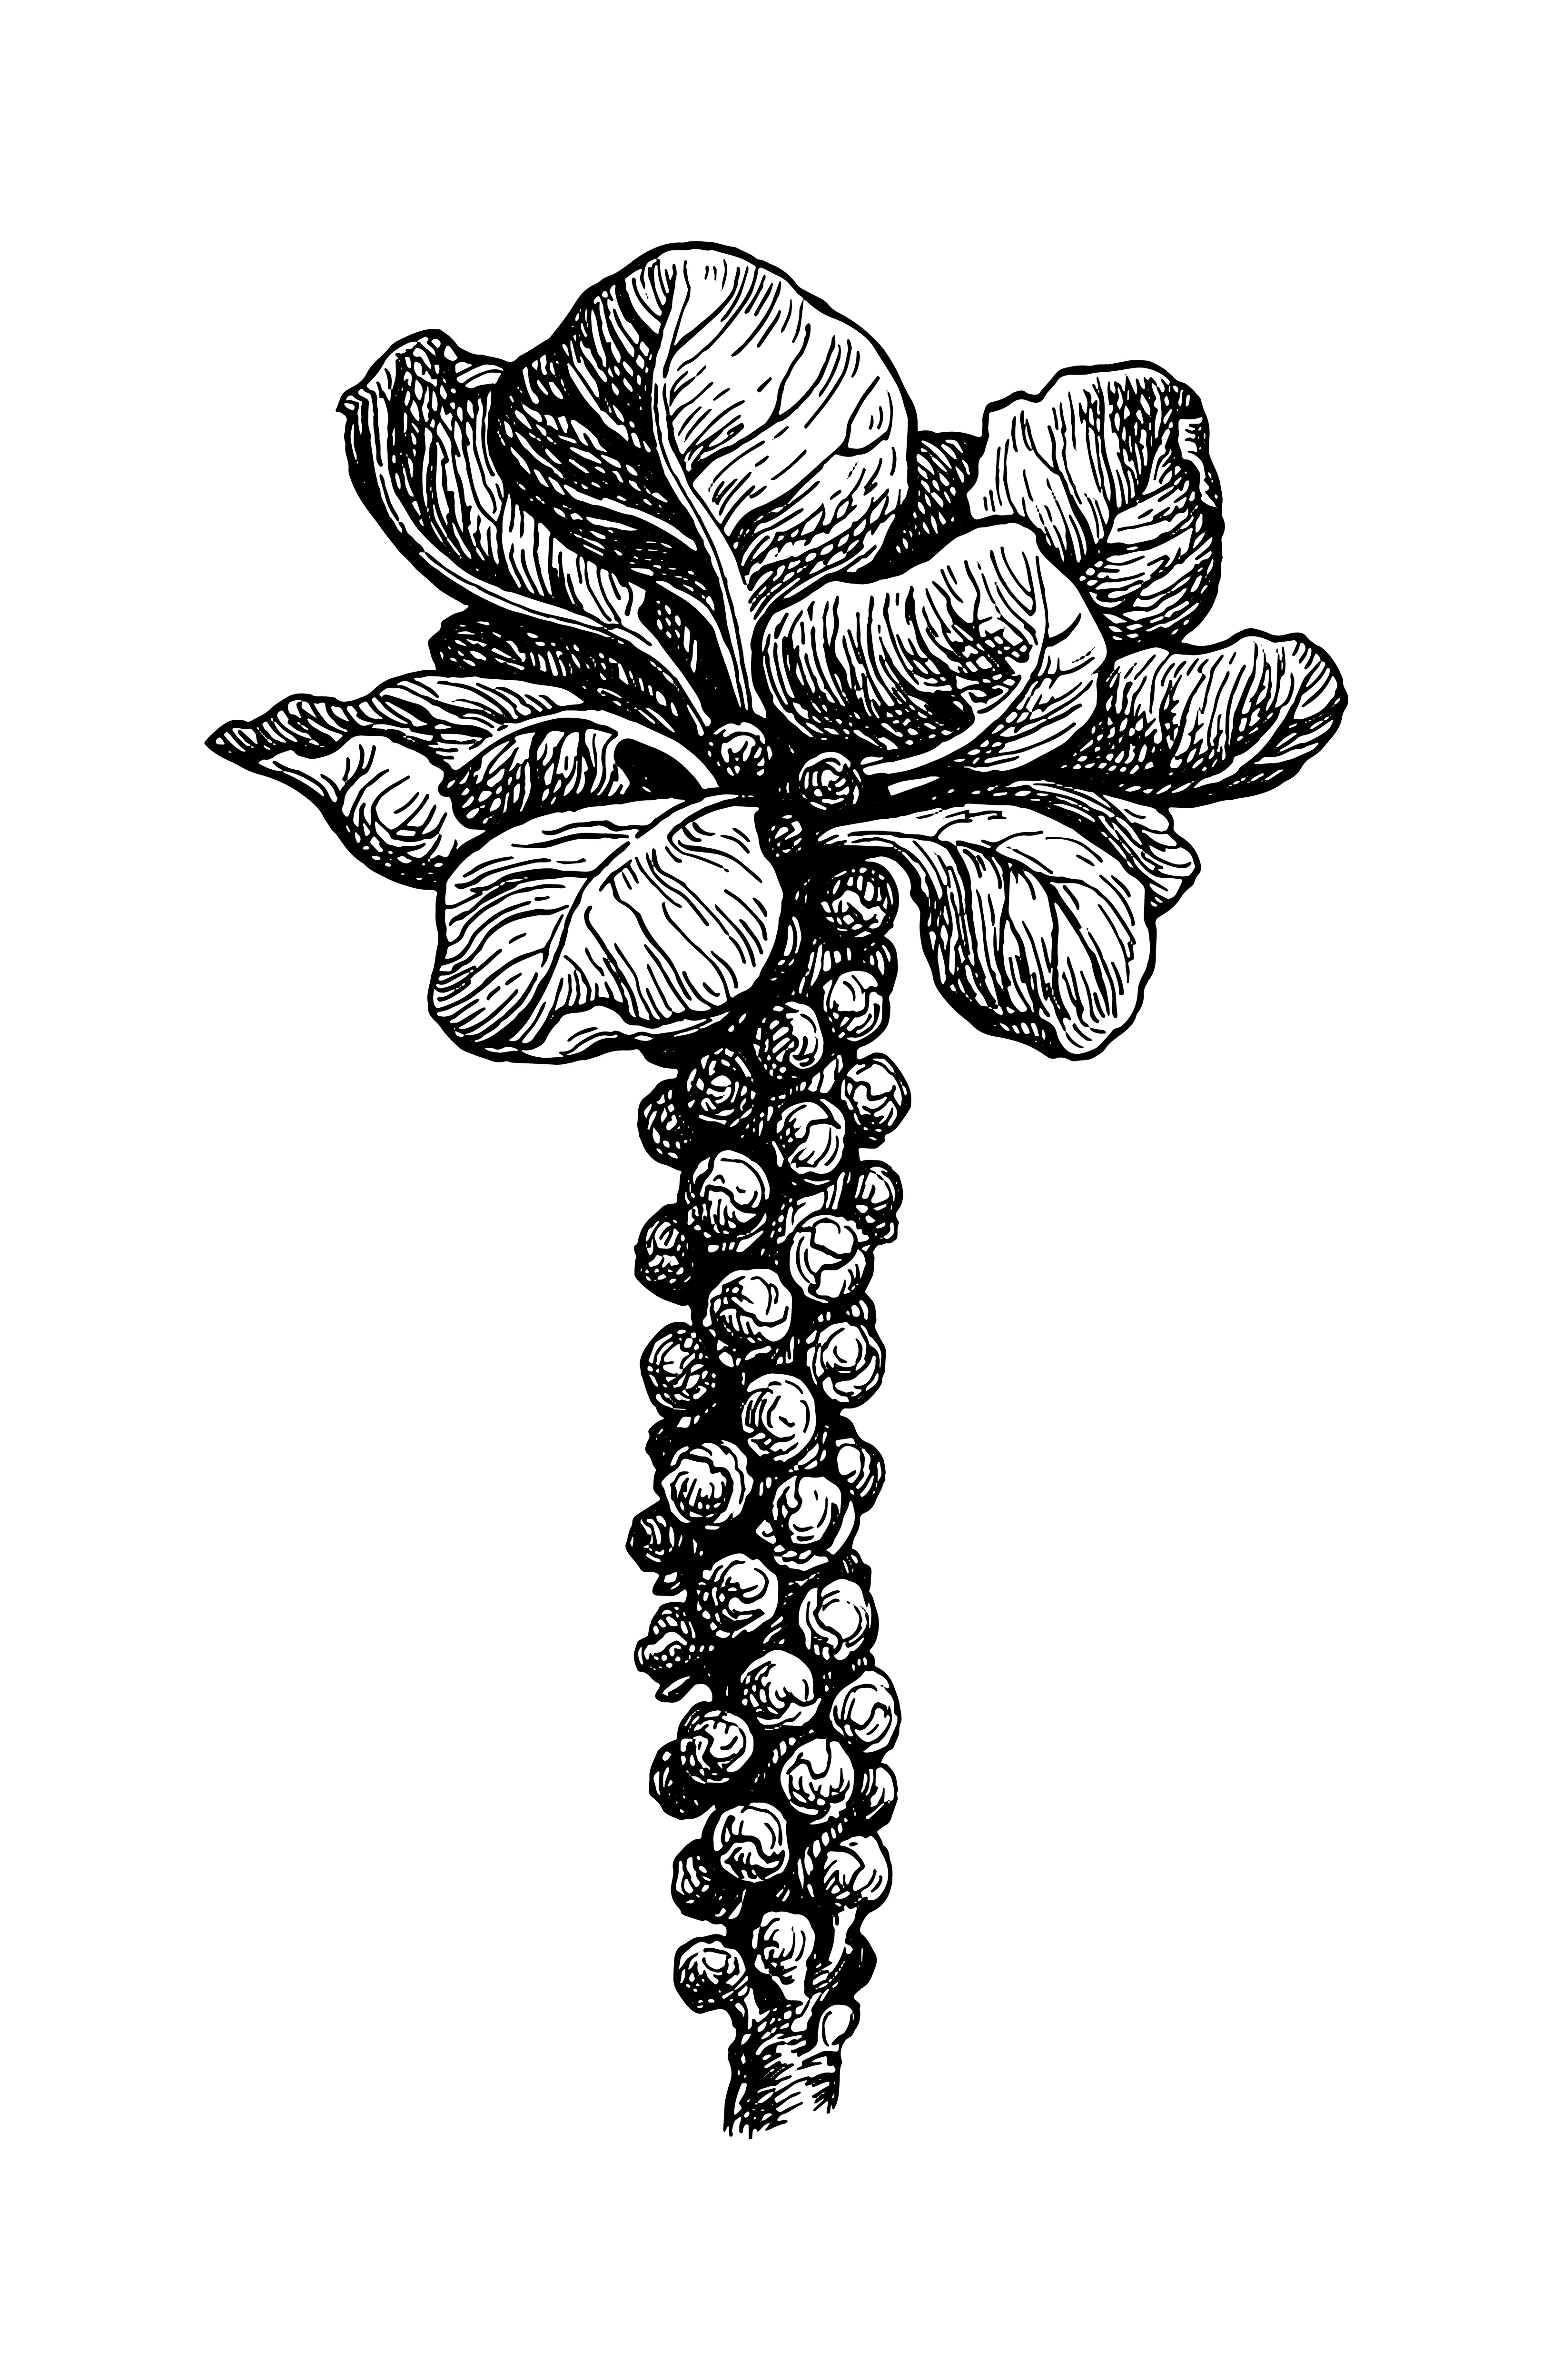
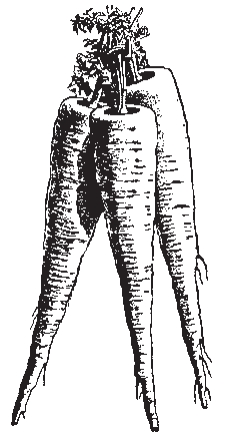
 CARROTS — Carrots do best in sandy loam. Heavy, wet or stony soils cause misshapen carrots
and give poor yields.
CARROTS — Carrots do best in sandy loam. Heavy, wet or stony soils cause misshapen carrots
and give poor yields.
Carrot seeds germinate slowly. Therefore, it is a good practice to plant a few radish seeds to mark the rows so they can be cultivated before the carrots are up. Deformed carrots usually mean the soil is too compact or the seedlings were not adequately thinned. Thinning is very important. Carrot seed is usually planted too thick because the seed is so fine. Before the plants are 1½ inches tall, pull the excess, leaving only one plant every 2 inches.
Chickweed must be killed early or the slow germinating carrots will be completely smothered.
Carrots will store all winter in clean, damp (not wet) sand. Place an inch of sand in a clean wood box. Then put in a layer of carrots. Cover with sand. Then cover the top layer with 3 inches of sand. Store at cool temperatures, but do not freeze.
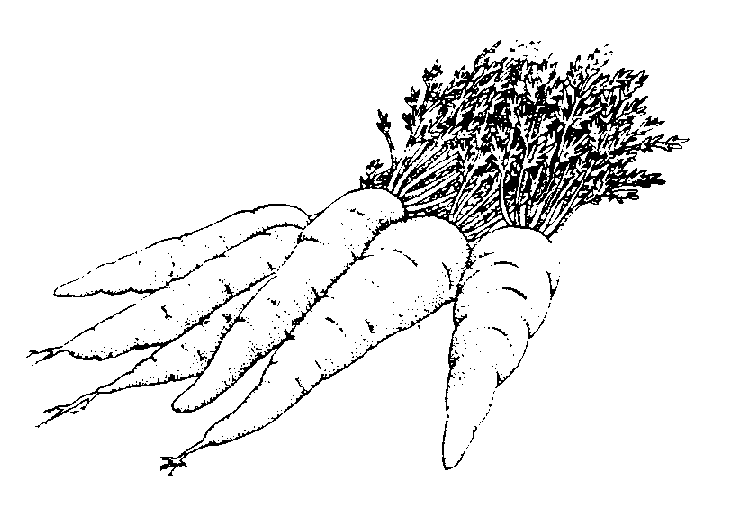
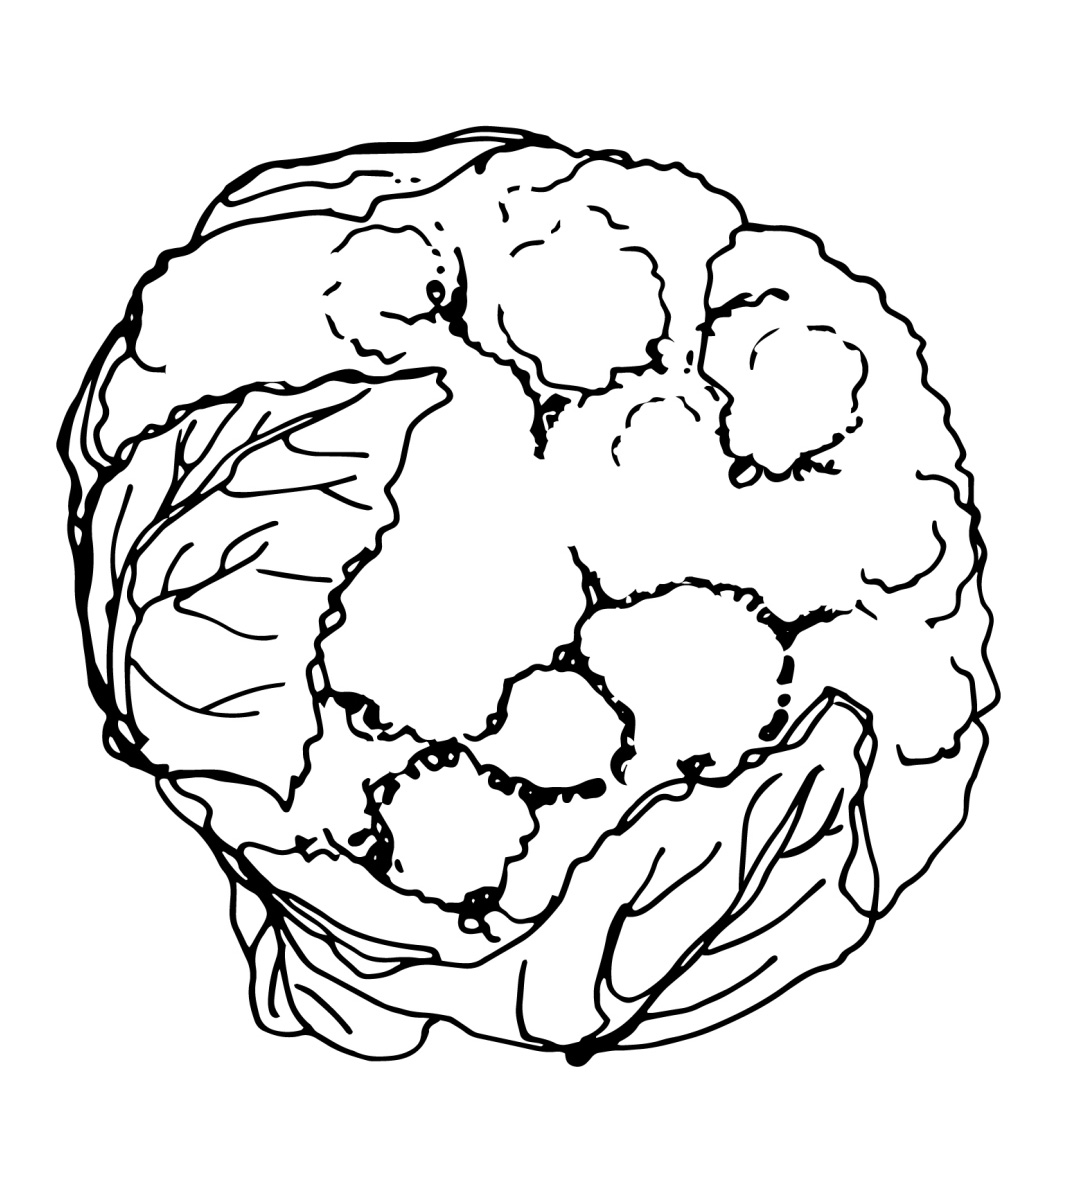 CAULIFLOWER — Cauliflower is not as hardy as cabbage or broccoli. Cauliflower must be well watered
and heavily fertilized for rapid growth. Like the other cole crops, cauliflower is
started early indoors and transplanted. A direct seeding may be made in the garden
for a late crop. Cauliflower also needs protection against root maggots and cutworms.
CAULIFLOWER — Cauliflower is not as hardy as cabbage or broccoli. Cauliflower must be well watered
and heavily fertilized for rapid growth. Like the other cole crops, cauliflower is
started early indoors and transplanted. A direct seeding may be made in the garden
for a late crop. Cauliflower also needs protection against root maggots and cutworms.
For home use, plants with heavy foliage need not be tied. For commercial sale, white heads are demanded, and shading by tying the central leaves together is necessary. Freezing, canning and pickling are common means of preservation.
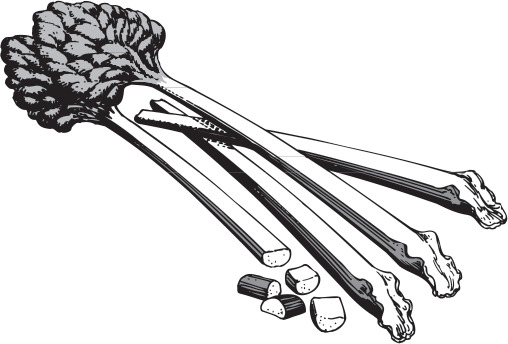
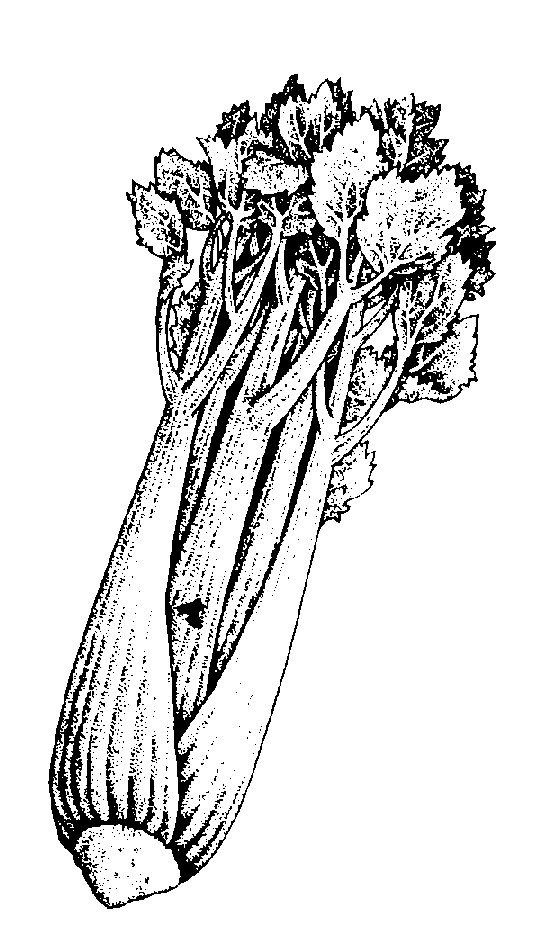 CELERY — Celery is hard to grow, although is it well suited to many Alaska sites. In other
states, the best celery is grown on muck, but in Alaska, muck soils are usually too
cold and frosty. Better-drained garden sites are less subject to frost, and celery
grows well on silt or sandy loams if ample water is available.
CELERY — Celery is hard to grow, although is it well suited to many Alaska sites. In other
states, the best celery is grown on muck, but in Alaska, muck soils are usually too
cold and frosty. Better-drained garden sites are less subject to frost, and celery
grows well on silt or sandy loams if ample water is available.
Celery should not be grown unless the gardener is prepared to water it.
Celery grows slowly and must be started 12 weeks or more before being transplanted in the garden. As the plant gains size, its rate of growth speeds up. Celery is shallow rooted and a heavy feeder. Careful soil preparation and liberal applications of fertilizer are required. Fertilizer should be applied in several light applications. Celery requires a fertilizer high in potassium.
Home gardeners usually purchase a couple of dozen transplants for a family of four. A fairly skillful gardener can grow his own transplants, although they must be seeded in early March and do require careful attention. Celery can be stored for several weeks in a cool cellar. Take up the entire plant, crown, roots and all, and place it in an upright position in moist sand. Roots and tops may be pruned a little after digging. Avoid wetting the stems of stored plants.
 CHINESE CABBAGE — This is a good salad vegetable, but early plantings usually bolt, going to seed
before heading. Plantings made in early July and harvested immature is one way to
avoid seed stalk growth. Apart from its tendency to go to seed, Chinese cabbage is
no more difficult to grow than lettuce. It is seeded directly in the garden and thinned
to one plant every 4 or 5 inches when small.
CHINESE CABBAGE — This is a good salad vegetable, but early plantings usually bolt, going to seed
before heading. Plantings made in early July and harvested immature is one way to
avoid seed stalk growth. Apart from its tendency to go to seed, Chinese cabbage is
no more difficult to grow than lettuce. It is seeded directly in the garden and thinned
to one plant every 4 or 5 inches when small.
CHIVES — This grasslike hollow-stem herb is good in salads and for flavoring meats and 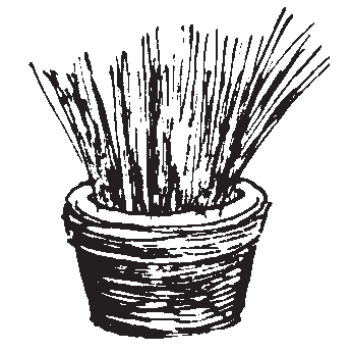 vegetables. Plants are started from tiny sets.
Chives are perennial and a single plant along the south wall of the house near the kitchen door is enough for a family of four. When large enough, it can be divided into several plants. A portion can be potted and grown during the winter on the window.
COLLARD — This green is well adapted to Alaska, as freezing does not seriously injure the
plant. 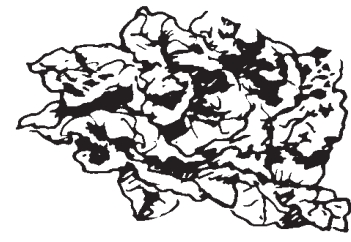 Collards look like unheaded cabbage, and their culture is the same as for cabbage.
They do well in poor soil if given ample water. Collards yield heavily. A 10-foot
row is enough for a family. Thin the plants so they are 15 inches or so apart.
Collards look like unheaded cabbage, and their culture is the same as for cabbage.
They do well in poor soil if given ample water. Collards yield heavily. A 10-foot
row is enough for a family. Thin the plants so they are 15 inches or so apart.
CORN — Sweet corn does not perform satisfactorily in most areas of Alaska. In the sunny
areas or 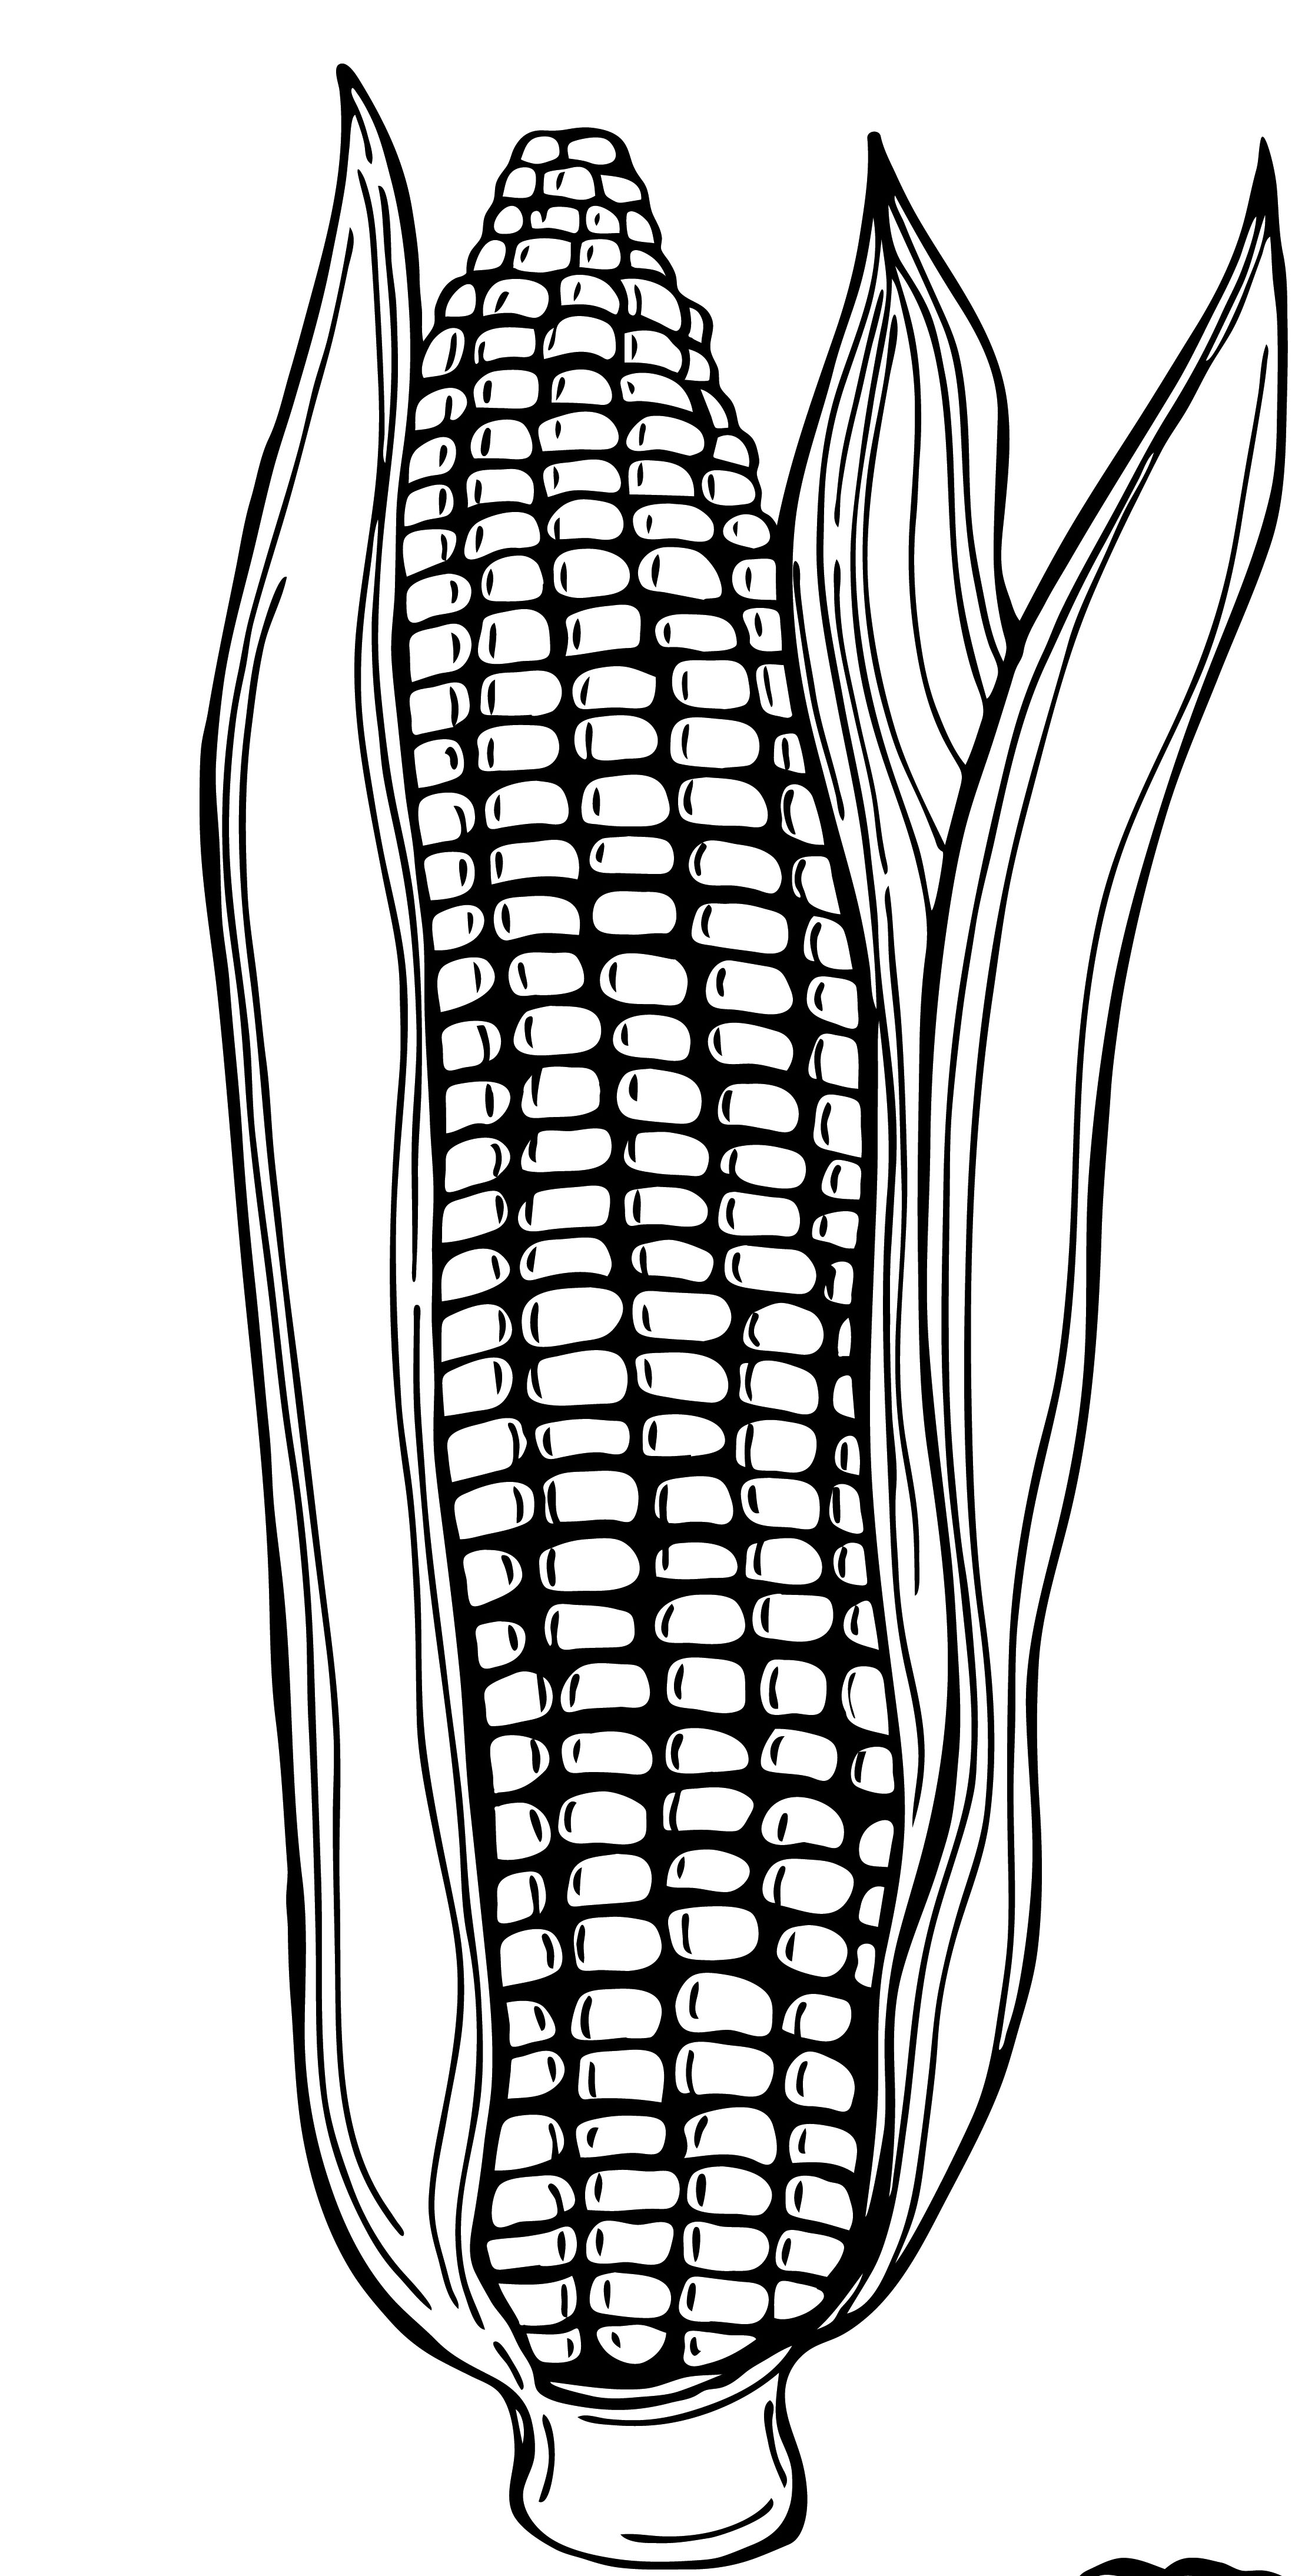 during warm summers, roasting ears can be grown through clear polyethylene on favorable
sites. The clear plastic mulch will protect the young seedlings from late frosts,
and the plants may remain under the mulch until they are 4 to 6 inches tall since
they will not sunburn. When transplanting corn, be very careful not to injure the
top or roots. Fertilizer will help produce good ears, but what corn needs is a lot
of hot sunshine, which is infrequent in much of Alaska.
during warm summers, roasting ears can be grown through clear polyethylene on favorable
sites. The clear plastic mulch will protect the young seedlings from late frosts,
and the plants may remain under the mulch until they are 4 to 6 inches tall since
they will not sunburn. When transplanting corn, be very careful not to injure the
top or roots. Fertilizer will help produce good ears, but what corn needs is a lot
of hot sunshine, which is infrequent in much of Alaska.
Good roasting ears can also be grown in the greenhouse, but the plants take up a lot of room.
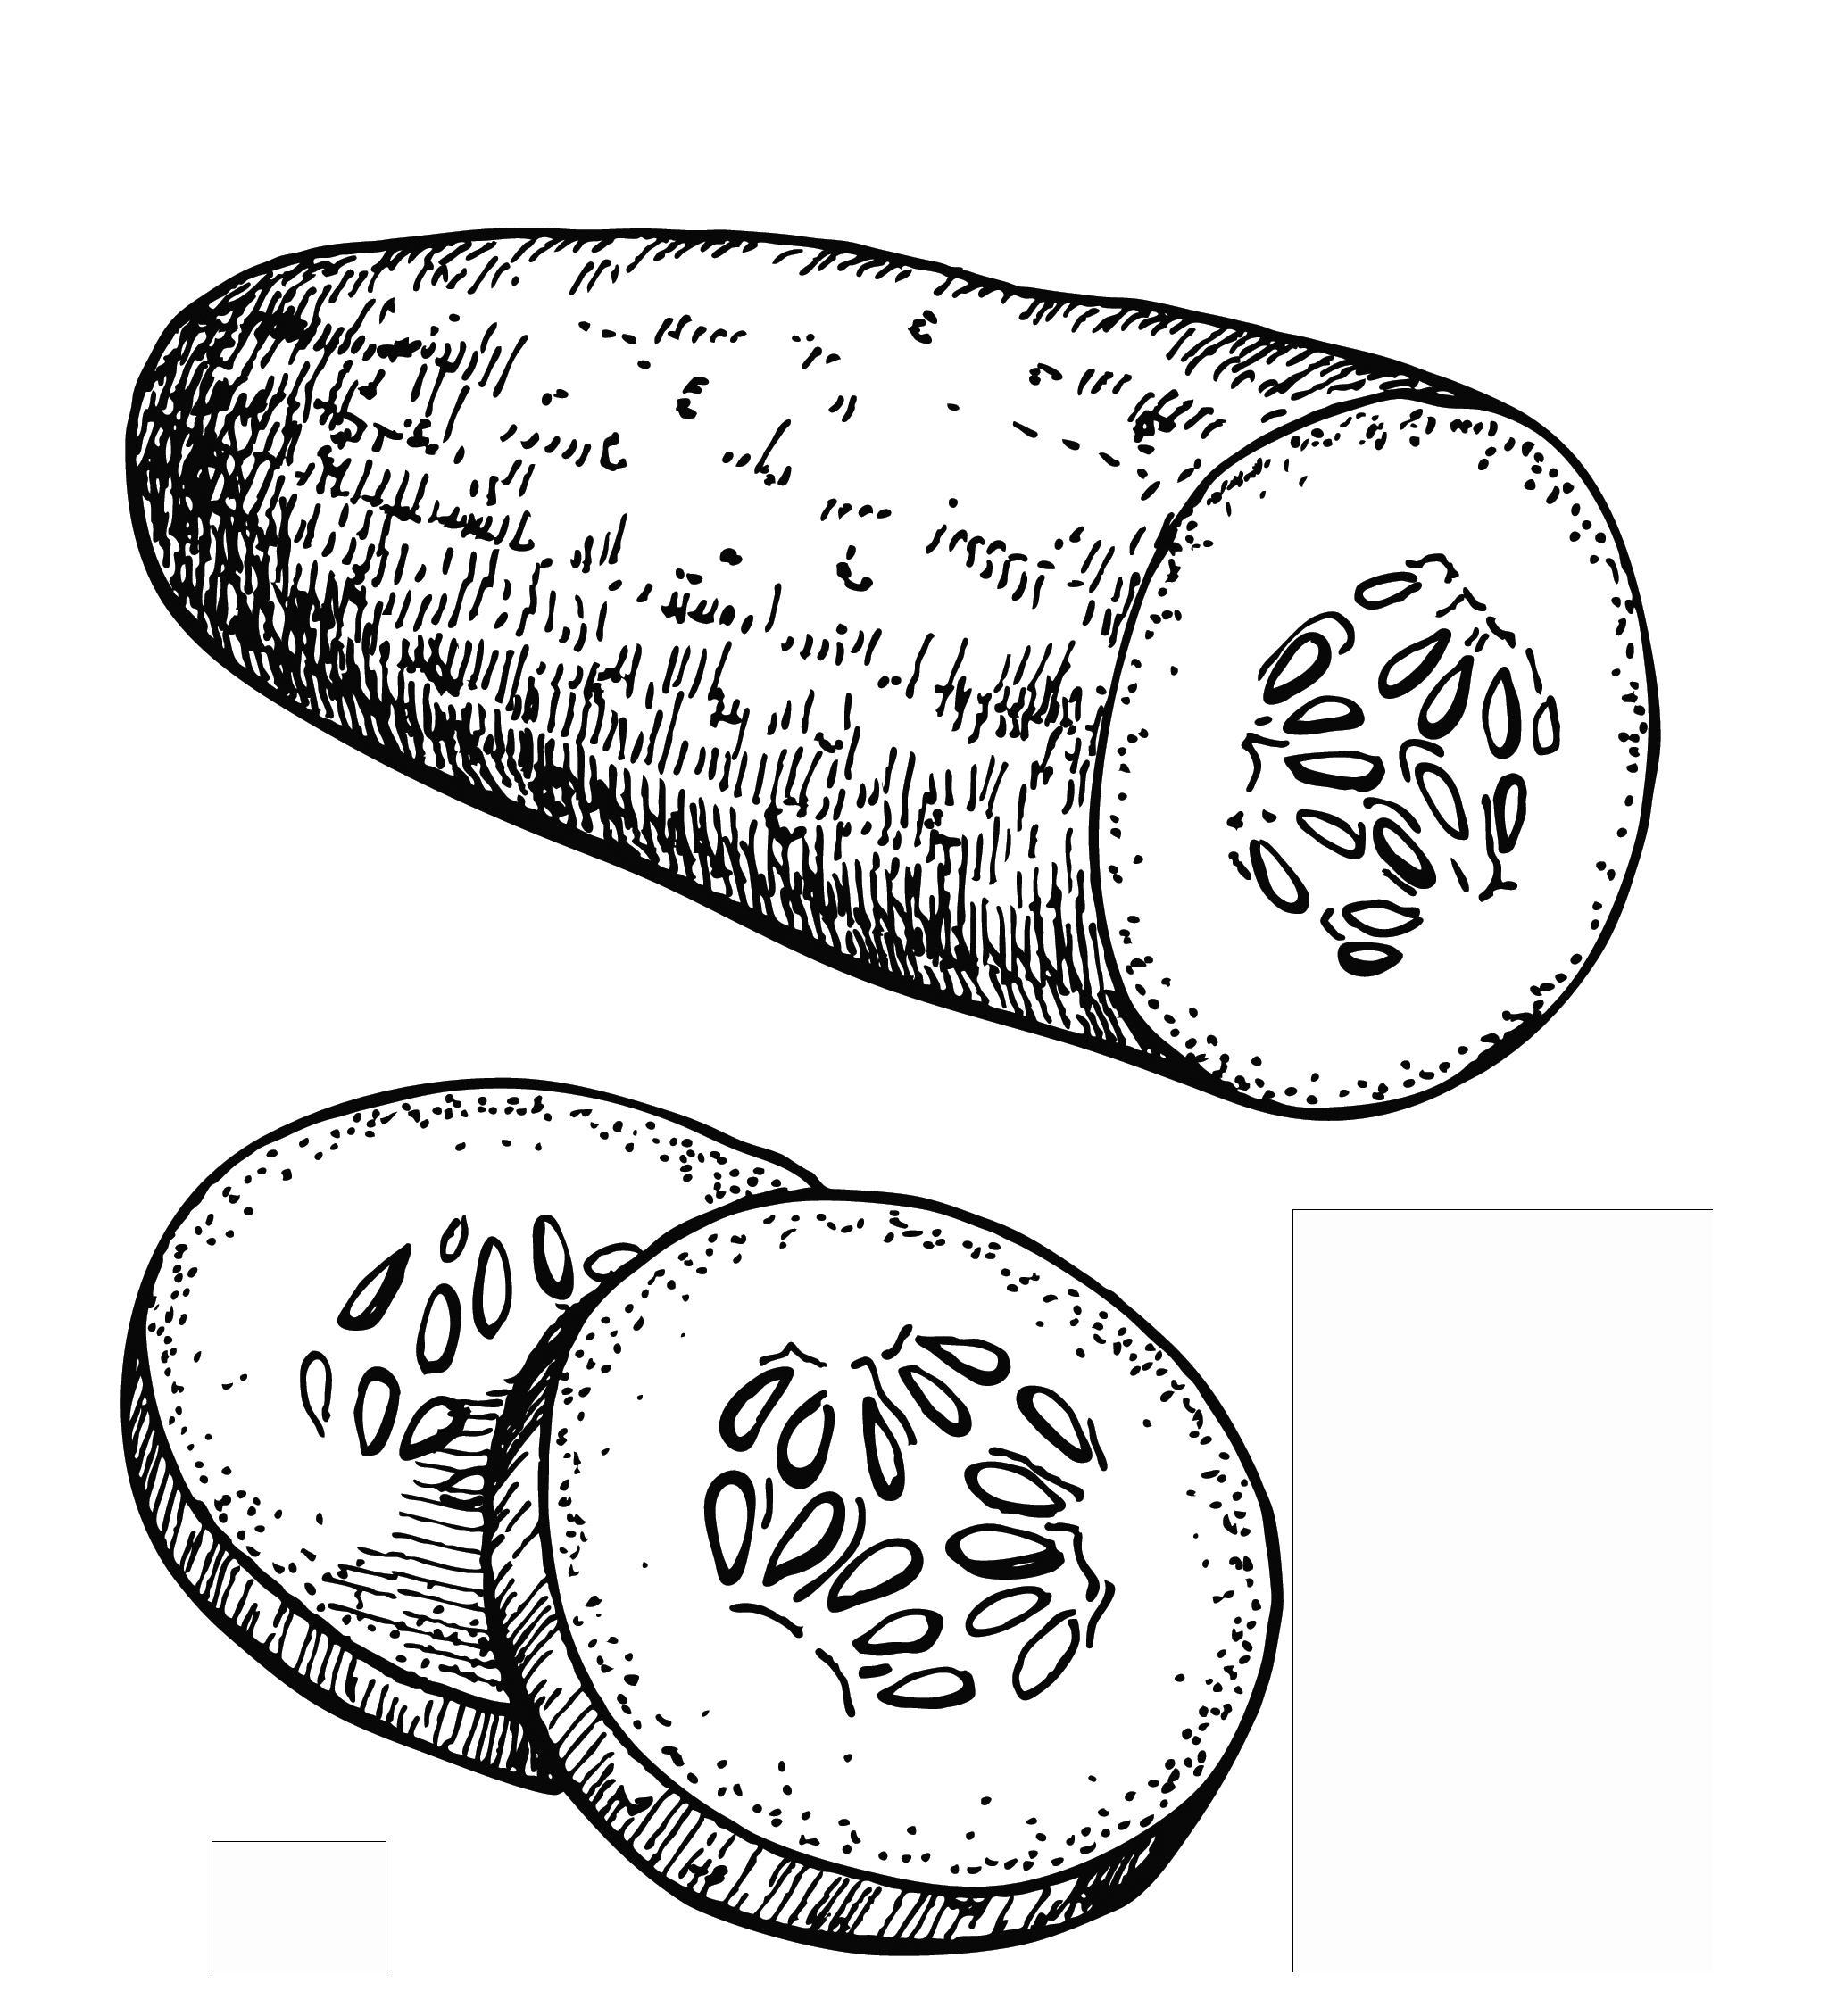 CUCUMBERS — Like corn and tomatoes, cucumbers are not well adapted to Alaska’s cold soils.
Cucumbers can be grown through clear polyethylene mulch in areas where summer temperatures
are relatively high. Cucumbers do not perform well outside in the cooler regions of
Alaska. Plants may be started inside but must be transplanted with extreme caution.
Any root injury that occurs during the transplanting will heal very slowly, and many
times the plants do not survive.
CUCUMBERS — Like corn and tomatoes, cucumbers are not well adapted to Alaska’s cold soils.
Cucumbers can be grown through clear polyethylene mulch in areas where summer temperatures
are relatively high. Cucumbers do not perform well outside in the cooler regions of
Alaska. Plants may be started inside but must be transplanted with extreme caution.
Any root injury that occurs during the transplanting will heal very slowly, and many
times the plants do not survive.
Do not start plants in peat pots and transfer both the plant and the pot to the garden. This practice will severely restrict root growth since the peat pots do not disintegrate in Alaska’s cold soils. Cucumbers do well in a greenhouse situation, but the standard varieties must be hand pollinated.
 ENDIVE — Endive is like lettuce, but it sometimes bolts, going to seed without producing
edible leaves. An early July planting with early thinning helps discourage bolting.
A row 20 feet long is enough for most families. Plants must be thinned early before
they are 2 inches tall. Space them about 10 inches apart in the row.
ENDIVE — Endive is like lettuce, but it sometimes bolts, going to seed without producing
edible leaves. An early July planting with early thinning helps discourage bolting.
A row 20 feet long is enough for most families. Plants must be thinned early before
they are 2 inches tall. Space them about 10 inches apart in the row.
Some people prefer blanched endive. To do this, wait until the plant is full grown. Then bring the outside leaves together and tie them at the top. Do not tie them when the plants are wet because they will decay.
 KALE — This green does well in Alaska and grows in any good garden site. Leaves must be
picked young for top quality. Kale is very nutritive, containing vitamin A, thiamine
and ascorbic acid. It is sometimes grown as an ornamental.
KALE — This green does well in Alaska and grows in any good garden site. Leaves must be
picked young for top quality. Kale is very nutritive, containing vitamin A, thiamine
and ascorbic acid. It is sometimes grown as an ornamental.
Care for kale like cabbage. It grows fast and is seeded directly in the garden. A 20-foot row is adequate for a family. Thin to a single plant every 12 inches.
 KOHLRABI — The edible part of kohlrabi is a bulblike swelling of the stem above ground. It
has a mild, turnip flavor and is eaten raw or cooked. The edible portion, being above
ground, is less susceptible to penetration by root maggots. Kohlrabi withstands frosts
and grows rapidly; it is a good vegetable for Alaska.
KOHLRABI — The edible part of kohlrabi is a bulblike swelling of the stem above ground. It
has a mild, turnip flavor and is eaten raw or cooked. The edible portion, being above
ground, is less susceptible to penetration by root maggots. Kohlrabi withstands frosts
and grows rapidly; it is a good vegetable for Alaska.
Kohlrabi is grown like cabbage and is planted directly in the garden. Thin to 6 to 8 inches. Harvest when small, as kohlrabi often becomes woody when larger than 2 inches. Trimmed, kohlrabi stores for long periods of time with little care.
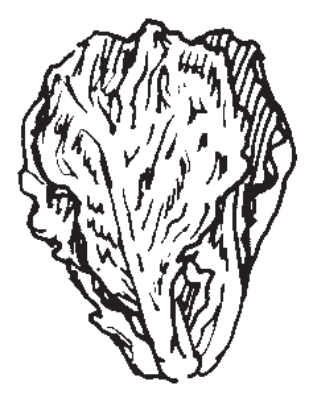
 LETTUCE — Leaf and head lettuce can be sown directly in the garden. Successive plantings
every two weeks will produce a continuous supply, but there is no practical way to
store lettuce.
LETTUCE — Leaf and head lettuce can be sown directly in the garden. Successive plantings
every two weeks will produce a continuous supply, but there is no practical way to
store lettuce.
For early head lettuce, seedlings may be started in the house and transplanted in late May or early June. Rapid growth for good quality is assured by liberal applications of fertilizer and water. Do not crowd lettuce in the row. Thin head lettuce varieties to one plant every 12 inches.
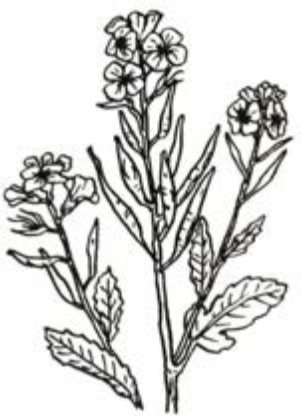 MUSTARD — A 10-foot row of mustard yields excellent early greens for a family of four. High
in calcium and iron, chopped mustard greens are easily canned and frozen. Seed directly
in the garden and thin to one plant every 6 to 8 inches in the row. Mustard sets seed
rapidly and may come up the next year. In some favorable sites, the seedlings may
be hard to kill. For this reason pull the plants when they start to blossom. At this
stage they are not good for greens.
MUSTARD — A 10-foot row of mustard yields excellent early greens for a family of four. High
in calcium and iron, chopped mustard greens are easily canned and frozen. Seed directly
in the garden and thin to one plant every 6 to 8 inches in the row. Mustard sets seed
rapidly and may come up the next year. In some favorable sites, the seedlings may
be hard to kill. For this reason pull the plants when they start to blossom. At this
stage they are not good for greens.
ONIONS — Onions do well in a wide range of soils if plenty of moisture is available. Soils
high in organic matter and rich in nitrogen are ideal. Onions are very 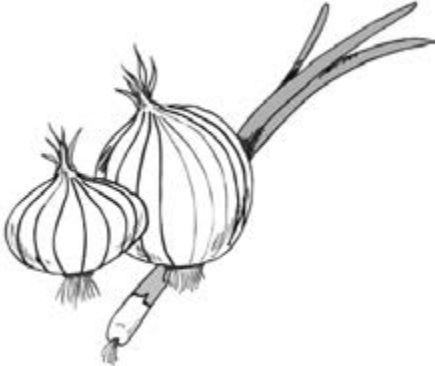 shallow-rooted. Great care must be taken not to cut off the roots when cultivating.
Dry onions are commonly started from sets (small onions), while green bunching onions are grown from seed. Onion sets should be protected from onion root maggots. Place the sets in a very shallow trench. Space 2 or 3 inches apart. Cover to their necks, but do not bury them completely. Weeds should never be allowed in the onion row.
Damp fall weather in much of Alaska slows down the maturing of dry onions. After pulling, shake off the dirt and let the bulbs dry. Then rub off the tops and roots. Store in a dry, cool room.
 PARSNIPS — Parsnips are a delicious root crop that are grown like carrots. Like carrots, they
emerge and grow slowly. Rows are usually marked with radishes to make early cultivation
easier. Plants must be thinned so that each plant has 3 or 4 inches of space in the
row. Parsnips are improved by freezing. Once frozen they should not be thawed until
cooked. Some gardeners leave a few in the ground until spring.
PARSNIPS — Parsnips are a delicious root crop that are grown like carrots. Like carrots, they
emerge and grow slowly. Rows are usually marked with radishes to make early cultivation
easier. Plants must be thinned so that each plant has 3 or 4 inches of space in the
row. Parsnips are improved by freezing. Once frozen they should not be thawed until
cooked. Some gardeners leave a few in the ground until spring.
PEAS — Peas are one of Alaska’s most satisfactory vegetables. They thrive in cool, moist
weather and are not bothered by diseases or insect pests, and they outgrow most weeds.
Long days encourage early blooming. A good crop is obtained with little trouble when
side dressed with nitrogen. Picking and 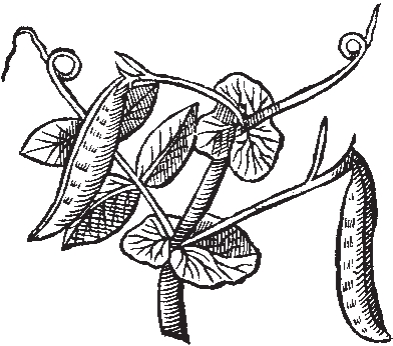 shucking is more trouble than growing them. A row 100 feet long takes a pound of seed
and yields about 5 pounds of shucked green peas, enough for most families. In sites
where damp weather is expected in August, pea vines should be trained to a woven wire
fence, as pods of unsupported vines lying on the ground may rot during the wet weather.
If the garden rows run north and south, a row of peas can be planted about 6 inches
on each side of a wire fence. Where rows run east and west, plant only on the south
side of the fence.
shucking is more trouble than growing them. A row 100 feet long takes a pound of seed
and yields about 5 pounds of shucked green peas, enough for most families. In sites
where damp weather is expected in August, pea vines should be trained to a woven wire
fence, as pods of unsupported vines lying on the ground may rot during the wet weather.
If the garden rows run north and south, a row of peas can be planted about 6 inches
on each side of a wire fence. Where rows run east and west, plant only on the south
side of the fence.
To plant peas, dig a furrow about 2 inches deep. Spread about 2 pints of fertilizer per 100-foot row in the bottom of the furrow. Then fill the furrow with at least 1 inch of soil and scatter the pea seed down the furrow. The seed should lie on the soil above the fertilizer. Cover the seed with another ½ inch of soil and pack by tamping with the rake or hoe. Tamping insures good contact between the seed and moist soil. A good stand of peas should have plants every inch.
After the vines are 6 inches high, scatter another 2 pints of fertilizer down the side of the 100-foot row. Wait until the vines are dry to do this, otherwise some fertilizer will stick to the wet leaves and burn them. Now push dirt up against the vines so they are inclined toward the fence, where their tendrils can reach the wire. Another side dressing of fertilizer in early August will keep the vines growing until frost.
Good, healthy pea vines may reach 3 or 4 feet on the supporting fence. Sometimes they are so heavy their tendrils are broken and the vines fall to the ground. To prevent this, tie the vines to the fence with strips of cloth, string or wire, looped at 6- or 8-foot intervals through the fence mesh. Start picking peas from the bottom as the pods fill and before the pods wrinkle or turn yellow. When picking for freezing, take only good pods. Leave old ones (containing hard peas) and young ones (containing undersized peas) on the vine. As the peas are shucked, grade them again, so that only peas of the same size and age are blanched or canned.
Peas are easy to freeze or can once they have been picked and shucked. Old pods may be left to dry on the vine. Dried peas can be stored for soups or for baking like beans.
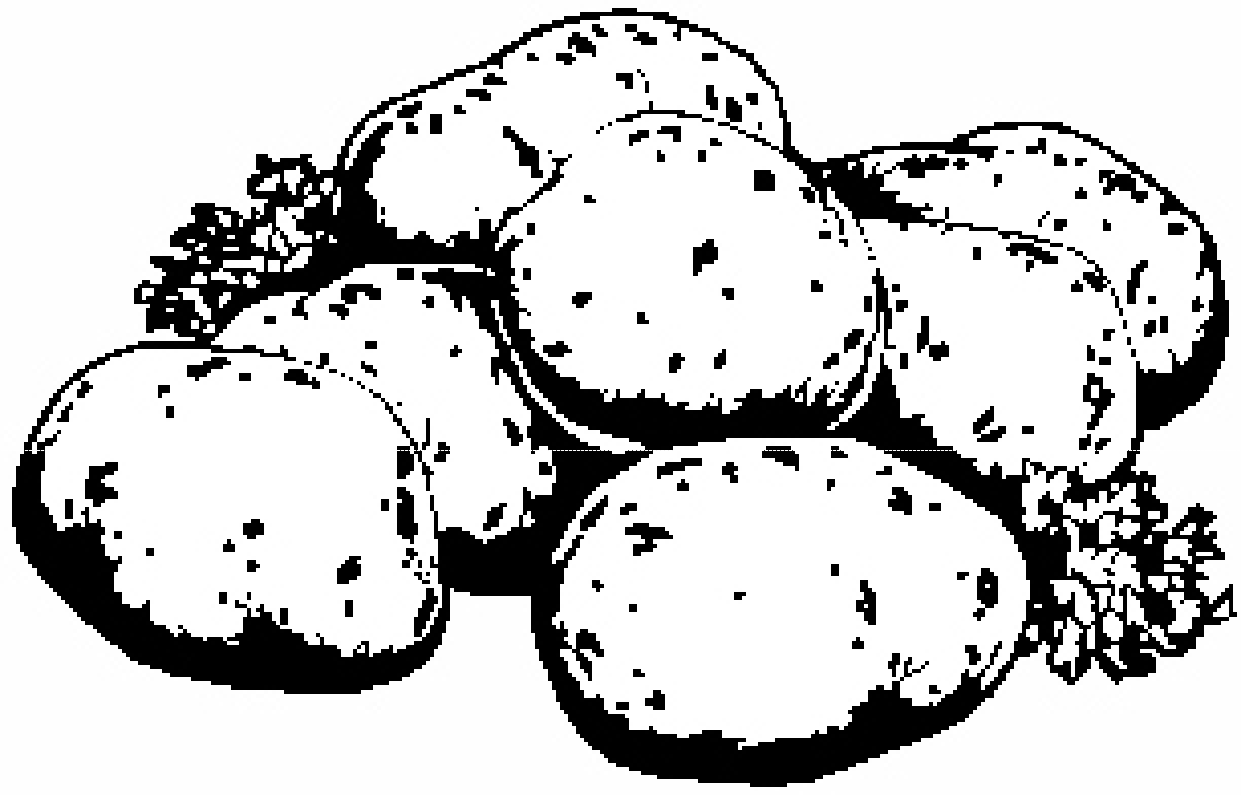 POTATOES — Potatoes need lots of space. If the home garden is small, a few hills yield enough
for fresh “peas and potatoes.” A row 100 feet long with plants spaced 12 inches apart
takes 15 pounds of seed. About 50 pounds of potatoes can be expected.
POTATOES — Potatoes need lots of space. If the home garden is small, a few hills yield enough
for fresh “peas and potatoes.” A row 100 feet long with plants spaced 12 inches apart
takes 15 pounds of seed. About 50 pounds of potatoes can be expected.
Potatoes need loose soil for best growth. The easiest way to plant potatoes is to dig a furrow about 4 inches deep. Scatter about 3 pints of a complete fertilizer down the bottom of the furrow, then rake back an inch of soil. Drop the seed a foot apart to one side of the fertilizer to avoid direct contact. Cover with an inch or so of soil and walk on the row to pack it down. In warm weather, the plants will emerge in a week or 10 days. Cool weather delays emergence.
Small potatoes an inch or so in diameter make good seed. Larger potatoes may be cut into several pieces so that each has at least two “eyes.” There is no advantage in planting large whole potatoes.
An important practice in preparing the potato seed pieces before planting is called green sprouting. After cutting the pieces, they should be placed in a closed paper bag for four to five days at room temperature to allow the cut surfaces to dry down and heal, otherwise the seed pieces may rot. Place the seed pieces in indirect light at room temperature. This will allow the buds of eyes to sprout.
When the sprout is ¼ inch long, plant the pieces in the garden. If the sprouts break off during the planting process, the work of green sprouting is lost.
As the plants grow, rake soil around them. When the vines are a foot high, the row should be “hilled” (soil piled over it) 2 or 3 inches higher than the rest of the garden. Hilling kills weeds and buries the new tubers so they are not exposed to light. New tubers turn green when not covered with soil, and green tubers are apt to be bitter.
After the tops are killed by frost, potatoes can be dug. They are not good if they freeze and thaw in the ground. However, if potatoes can be kept frozen until they are used, they are suitable for eating, although they are very sweet. Wash or brush the dirt from the tubers and store in a crate or wooden box that has cracks and holes in it for ventilation. A cool basement is a good storage area. A storage temperature of 36° to 38°F is best.
Potatoes should be grown in a new site each year if potato scab is evident.
 RADISHES — Radishes grow rapidly. Plant only a few feet of a row at a time every week until
August. Radishes must be protected from root maggots. Thin so each plant has an inch
or so of space to grow in. Use while small and pull old plants before they blossom.
RADISHES — Radishes grow rapidly. Plant only a few feet of a row at a time every week until
August. Radishes must be protected from root maggots. Thin so each plant has an inch
or so of space to grow in. Use while small and pull old plants before they blossom.
 RHUBARB — This perennial grows well in Alaska. Plants with deep dark red leaf stalks are
superior to green ones. A large plant can be divided into several smaller ones. Dig
up the old root and separate it into several pieces, leaving one or two buds on each
section. Select a site outside the garden area where the plant can grow undisturbed
for several years. Inside the garden rhubarb grows so big it can be a nuisance to
work around unless a whole row is set aside for it. The site should be well drained,
but not gravelly. Rhubarb plants also make a good foundation planting. Five or six
plants will provide an ample supply for a family with some left over for the neighbors.
RHUBARB — This perennial grows well in Alaska. Plants with deep dark red leaf stalks are
superior to green ones. A large plant can be divided into several smaller ones. Dig
up the old root and separate it into several pieces, leaving one or two buds on each
section. Select a site outside the garden area where the plant can grow undisturbed
for several years. Inside the garden rhubarb grows so big it can be a nuisance to
work around unless a whole row is set aside for it. The site should be well drained,
but not gravelly. Rhubarb plants also make a good foundation planting. Five or six
plants will provide an ample supply for a family with some left over for the neighbors.
Dig a hole a foot or so wide and a foot deep. If aged manure is available, spade a
pailful into the bottom of this hole. If manure is not available, spade a cupful of
commercial fertilizer into well-decomposed organic matter and fill the bottom of the
hole. Finish filling the hole with garden soil so the crown is slightly above the
surface. Pack soil around the edge of the hole, leaving a depression to hold water.
Pour in a bucket of water and then mound the remaining soil over the crown. Good juicy
rhubarb needs lots of fertilizer. Side dress old plants with a pint of commercial
fertilizer scattered over a 3-foot area in early May. Scatter another cupful around
the plant in early July and again in late August. Newly set plants should be left
undisturbed for a year. The second year they 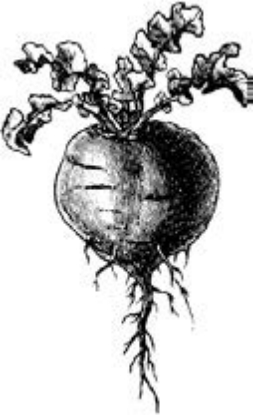 may be lightly harvested. Rhubarb will go to seed but the flower stalks may be cut
without harming the plant.
may be lightly harvested. Rhubarb will go to seed but the flower stalks may be cut
without harming the plant.
RUTABAGAS — Rutabagas are grown like turnips, but they need more space in the row. Thin to 8 to 10 inches. Their quality improves in a cool, moist storage, preferably just above freezing. Storage life of rutabagas is extended if they are cleaned and waxed when pulled.
NEW ZEALAND SPINACH — True spinach goes to seed so quickly during Alaska’s long days that it 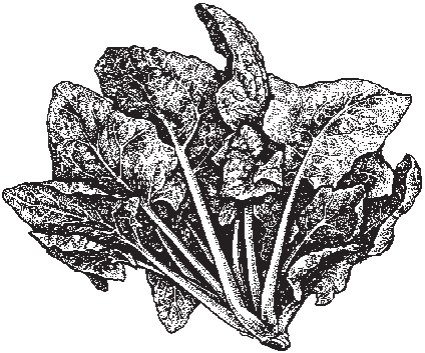 is generally not recommended for home gardens. However, several of the newer varieties
may give satisfactory results. New Zealand spinach, which is not a true spinach, is
better adapted and can be grown in nearly all areas of Alaska. New Zealand spinach
is grown like beets. A trial planting of perpetual or beet spinach is worthwhile.
Seedlings are thinned 15 to 18 inches apart in the row. Young tender tips of branches
are harvested and eaten fresh or boiled. They also may be canned or frozen.
is generally not recommended for home gardens. However, several of the newer varieties
may give satisfactory results. New Zealand spinach, which is not a true spinach, is
better adapted and can be grown in nearly all areas of Alaska. New Zealand spinach
is grown like beets. A trial planting of perpetual or beet spinach is worthwhile.
Seedlings are thinned 15 to 18 inches apart in the row. Young tender tips of branches
are harvested and eaten fresh or boiled. They also may be canned or frozen.
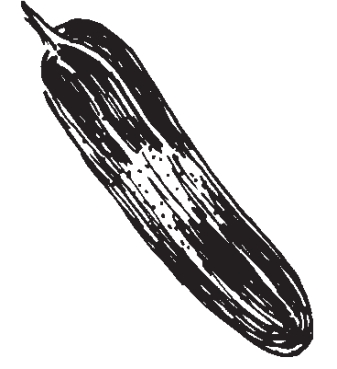 SUMMER SQUASH — Summer squash, which includes zucchini, needs a light, well-drained soil and moderate
fertilization. Plant in hills with five to six seeds per hill. Each hill should be
spaced 4 feet apart. Summer squash will be more productive when planted through clear
plastic mulch. Use the squash while it is still immature. If the thumbnail easily
punctures the surface skin, it is still edible. Summer squash may be stored by freezing
or canning. Dry storage is not satisfactory for more than a month.
SUMMER SQUASH — Summer squash, which includes zucchini, needs a light, well-drained soil and moderate
fertilization. Plant in hills with five to six seeds per hill. Each hill should be
spaced 4 feet apart. Summer squash will be more productive when planted through clear
plastic mulch. Use the squash while it is still immature. If the thumbnail easily
punctures the surface skin, it is still edible. Summer squash may be stored by freezing
or canning. Dry storage is not satisfactory for more than a month.
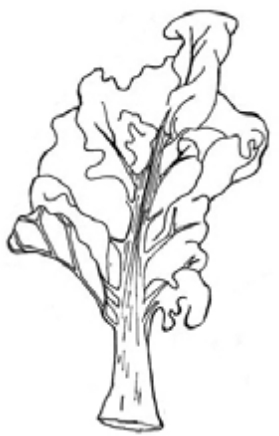 SWISS CHARD — Swiss chard is a large foliage beet with juicy leaf stalks and broad crisp leaves.
The red kind, called rhubarb chard, is colorful in spring salads. Seed of green chard
is more easily obtained. Either kind is a good green vegetable.
SWISS CHARD — Swiss chard is a large foliage beet with juicy leaf stalks and broad crisp leaves.
The red kind, called rhubarb chard, is colorful in spring salads. Seed of green chard
is more easily obtained. Either kind is a good green vegetable.
Swiss chard goes to seed, especially when it is planted early and is too crowded in a row. It is grown like beets, thinned 6 to 8 inches apart while still in the seedling stage.
Pick the big tender leaves and leaf stalks. Chop with a pair of shears and boil like spinach. Frozen chard is superior to canned.
TOMATOES — Outside of the Interior, few garden sites are warm enough to grow good tomatoes.
 The vines grow, the plants bloom and set fruit; but the fruit does not usually ripen.
Many gardeners harvest green tomatoes for pickling or spicing. There are favored sites
in Anchorage and the Matanuska Valley where certain tomato varieties mature when grown
under plastic mulch.
The vines grow, the plants bloom and set fruit; but the fruit does not usually ripen.
Many gardeners harvest green tomatoes for pickling or spicing. There are favored sites
in Anchorage and the Matanuska Valley where certain tomato varieties mature when grown
under plastic mulch.
In the Tanana Valley and parts of the Yukon Valley where the climate is more continental, a few adapted varieties regularly mature fruit outdoors when grown through clear polyethylene mulch. In most of Alaska, tomatoes are usually grown in greenhouses or shelters where they are supplied with additional heat.
Tomato plants must be started indoors and then transplanted outside. Plants are started indoors eight weeks before the danger of frost is past. Enough plants for a garden may be started in a window box and transplanted to small pots or paper cups. Seedlings are first transplanted soon after their first true leaves appear. After the danger of frost is past and there is assurance of continued warm weather, tomatoes are again transplanted — this time into the garden, if you are going to grow them outside.
At transplanting time the plants are usually 8 to 10 inches tall. Leave as large a ball of soil and roots as possible on each plant and set them in position with the earth packed about them. Be careful not to injure their roots.
Tomatoes do best on fertile, well-drained soil. Use fertilizer sparingly. Too much nitrogen encourages vine growth.
Hoe around tomatoes to control weeds, but deep hoeing injures their shallow root system. Tomatoes need a lot of water, especially when the vines are growing rapidly. Water the soil, not the vines. Uniform moisture is needed. Wide variations in soil moisture can damage the fruit. Blossom end rot is often seen after a period of rank growth and is a sign of water stress.
Mature tomato vines may be covered with plastic to hasten the ripening of their fruits. Fruit that is nearly mature can be brought into the house for final ripening.
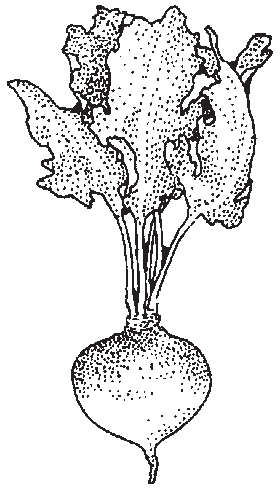 TURNIPS — Turnips are hardy and easy to grow, but like cabbage, they are susceptible to damage
from root maggots. Plant early for summer eating. No special soil preparation is needed.
A late planting in mid-July gives better turnips for winter storage. Thin while tops
are still tender. These young turnips make excellent greens. After thinning, the turnips
should have at least 4 inches of space between them in the row. Pull, clean and wax
turnips before they turn woody for best winter storage.
TURNIPS — Turnips are hardy and easy to grow, but like cabbage, they are susceptible to damage
from root maggots. Plant early for summer eating. No special soil preparation is needed.
A late planting in mid-July gives better turnips for winter storage. Thin while tops
are still tender. These young turnips make excellent greens. After thinning, the turnips
should have at least 4 inches of space between them in the row. Pull, clean and wax
turnips before they turn woody for best winter storage.
PLANTING GUIDE
This guide is suitable for a family of four, allowing some extra for home processing. (Adjust to family’s needs, likes and dislikes.)
| Vegetable | Length Of Row | Plants Or Seed Needed | Depth to Plant | Row Space (inches) | Plant Space (inches) | Days to Mature | Approx Yield |
|---|---|---|---|---|---|---|---|
| *Beans | 100 | ¾ lb | ½ in | 36 | 6-8 | 65-90 | 50 lb |
| Beets | 50 | ½ oz | ¼ in | 24 | 2-4 | 60-80 | 50 lb |
| Broccoli | 50 | 25 plants | transplant | 36 | 18-24 | 50-100 | 30 lb |
| Brussels sprouts | 50 | 25 plants | transplant | 36 | 24 | 100-120 | 30 lb |
| Cabbage | 60 | 30 plants | transplant | 30 | 18-24 | 50-130 | 90 lb |
| Carrots | 100 | ⅛ oz | ⅛ in | 18 | 2-4 | 50-90 | 100 lb |
| Cauliflower | 50 | 35 plants | transplant | 24 | 18 | 65-75 | 75 lb |
| Celery | 25 | 40 plants | transplant | 24 | 6-8 | 100-120 | 45 lb |
| *Corn, sweet | 100 | ⅛ lb | ½ in | 30 | 12-14 | 75-115 | 100 ears |
| Chard, Swiss | 25 | ¼ oz | ¼ in | 24 | 6 | 60-75 | 25 lb |
| *Cucumber | 25 | 25 plants | transplant | 36 | 12 | 60-80 | 50 lb |
| *Eggplant | 12 | 8 plants | transplant | 36 | 18 | 80-100 | 15 lb |
| Endive | 25 | ⅛ oz | ⅛ in | 20 | 10 | 60-80 | 15 lb |
| Kale | 25 | ⅛ oz | ⅛ in | 24 | 10 | 70-130 | 25 lb |
| Kohlrabi | 50 | ⅛ oz | ⅛ in | 18 | 4 | 50-75 | 50 lb |
| Lettuce, head | 25 | 1/16 oz | ⅛ in | 18 | 10-15 | 50-80 | 25 lb |
| Lettuce, leaf | 25 | 1/16 oz | ⅛ in | 18 | 3-6 | 40-70 | 20 lb |
| Mustard greens | 25 | 1/16 oz | ⅛ in | 16 | 6 | 50-75 | 15 lb |
| Onion, scallion | 10 | ⅛ oz | ¼ in | 14 | 1-3 | 50-70 | 10 lb |
| Onion | 25 | 10 lb | Sets | 14 | 2-4 | 45-70 | 25 lb |
| Parsley | 10 | 1/16 oz | ⅛ in | 16 | 4 | 50-75 | 5 lb |
| Parsnips | 50 | 1/16 oz | ¼ in | 24 | 3 | 100-150 | 50 lb |
| Peas | 150 | 1½ lb | ½ in | 30 | 2 | 100-120 | 40 lb |
| *Peppers | 25 | 15 plants | transplant | 24 | 18 | 90-130 | 25 lb |
| Potatoes | 150 | 30 lb | 1 in | 30 | 10-14 | 90-110 | 200 lb |
| Radishes | 25 | 1/16 oz | ¼ in | 12 | 1 | 25-35 | 18 lb |
| Rutabagas | 50 | 1/16 oz | ¼ in | 20 | 4 | 50-75 | 75 lb |
| Spinach | 25 | ⅛ oz | ¼ in | 24-36 | 8-10 | 60-80 | 20 lb |
| *Squash, summer | 10 | 4 plants | transplant | 36 | 30 | 60-75 | 75 lb |
| *Squash, winter | 25 | 6 plants | transplant | 60 | 48 | 120-135 | 60 lb |
| *Tomatoes | 75 | 25 plants | transplant | 36 | 24-36 | 90-110 | 150 lb |
| Turnips | 50 | 1/16 oz | ¼ in | 18 | 3 | 50-75 | 75 lb |
* Grown through clear polyethylene
Stephen Brown, Extension Faculty, Agriculture and Horticulture. Originally written by Reginald Yaple, former Extension Horticulture Specialist.
Reviewed October 2019