Establishing and Maintaining a Lawn in Southeast Alaska
HGA-00046 View this publication in PDF form to print or download.
A nice lawn adds benefits to a home in many ways:
- It absorbs water, which helps keep water from collecting along the house.
- It improves the appearance of the house, thereby adding value to the property.
- It helps with both dust and mud management.
- It acts as a noise buffer.
- It provides a great place for recreational activities for both people and pets.
While the principles of establishing a quality lawn in Southeast Alaska are similar to those for other locations, the unique climate requires a few modifications to some of these principles.
Preparing the site
The objective of site preparation is to shape the soil into a gradual slope that will allow water to drain away from the structure. An ideal slope is 1 to 2 percent, or around a 6- to 12-inch drop over 50 feet beginning at the structure. It is important not to make the slope too steep or it will be difficult to mow and will have a greater tendency to erode before the grass is established. For planting areas with a slope of 10 percent or greater, other methods beyond the scope of this publication will be needed.
Before bringing in topsoil for planting, prepare the base soil; this will make topsoil application easier. It is important to remove rocks, construction debris and organic debris (e.g., wood, roots and sticks) before planting or adding topsoil. Over time, organic debris in the soil will decompose, leaving depressions in the lawn. Use shovels, rakes and/or scree boards to shape the ground. Slope the ground as closely to the intended shape as possible, as this will make adding topsoil easier.
Determine if topsoil is necessary
It is important to determine if the soil in the chosen planting area is suitable for planting, or if topsoil needs to be made or purchased. In general, if the current soil holds water but allows for moderate drainage and has small enough particles to provide good support for grass roots, additional topsoil should be unnecessary. If there are many large particles (rocks, pebbles, etc.), or if there is a lot of sand or gravel, topsoil should be brought in or the current soil amended in order to provide an adequate platform for planting. Many sites in Southeast Alaska will be improved by topsoil brought in from another source. See Extension publications “Managing Alaska Soils,” FGV-00043, and “Soil and Fertilizer Management for Healthy Gardens,” HGA-00338, for more information on topsoil quality.

It is an unfortunate reality that topsoil can be very difficult to obtain![]() in some Southeast Alaska locations. Fortunately red fescue grass is well adapted for
gravelly locations. Still, there must be some finer material between the rocks to
hold moisture and nutrients for the roots. Top coating gravel with sand or silt is
one way to fill this space. See Extension publication “Planting Grass on Gravel Runways
in Alaska,” HGA-00340, for more information.
in some Southeast Alaska locations. Fortunately red fescue grass is well adapted for
gravelly locations. Still, there must be some finer material between the rocks to
hold moisture and nutrients for the roots. Top coating gravel with sand or silt is
one way to fill this space. See Extension publication “Planting Grass on Gravel Runways
in Alaska,” HGA-00340, for more information.
Purchasing topsoil
Some topsoils are more sandy, which allows faster drainage, but they can be difficult to manage in times of drought since they do not hold water well. These sandier soils will need to be watered more frequently than other soils. Topsoils with a higher concentration of clay or organic matter hold water like a sponge, but can cause problems by not allowing enough drainage. A good topsoil should hold water, but allow moderate drainage. If purchasing topsoil from outside sources, make sure that it doesn’t have polymers added to help the soil mix retain water. These polymers can lead to conditions where the soil holds way too much water.
When purchasing topsoil, it is important to verify that the soil being purchased is truly topsoil and to make sure it is free of rocks and debris before planting. Find out from the vendor how much the soil will settle over time, as many gardeners are surprised that their initial 6 inches of topsoil settles to 3 to 4 inches over a few years. It is important to have at least 4 inches of settled soil in order for grass roots to remain healthy. Topsoil is generally sold by the cubic yard, so use this formula to estimate how much topsoil you need:
(Desired depth of topsoil in inches) x (Area to cover in square feet) / 324
For example, to figure out how many cubic yards of topsoil are needed for a desired depth of 6 inches on a 25x30-foot section of lawn, your equation would be:
(6) x (25x30) / 324 = 4,500 / 324 = 13.9 cubic yards
Creating and improving topsoil
To improve sandy soil for planting grass, add finely sifted local organic matter and/or
silt.  Likewise, you can improve drainage in slower-draining soil that is rich in organic
matter and/or silt by adding sand. If the intended planting area is primarily gravel,
however, you can create topsoil for the area by mixing sand with organic matter and/or
silt. Local peat is an excellent source of organic matter. As with purchased topsoil,
make sure any debris is removed from the topsoil before applying.
Adding topsoil
Spread the topsoil out as evenly as possible over the base soil using shovels, rakes and/or scree boards. This is the time to shape the lawn to the desired final contours.
Although many gardeners think that putting a top-soil mixture that is high in organic matter over a very coarse base layer of sand or gravel will ensure good drainage, they are actually creating a different situation. The physics of water movement cause the water to stay in the finer topsoil until the topsoil is saturated before the excess moisture is released to the coarser layer beneath it. Once in the coarse layer, the water will quickly drain out of the lawn root zone. This isn’t a good thing or a bad thing; the gardener just has to recognize that if a fine layer of soil is above a coarse layer, the upper layer will hold water until the soil is saturated, while in a more conventional system the finer soils of the deeper layers will draw surface moisture down through capillary action.
Nutrient supplementation
The best time to add nutrients is after the topsoil has been spread out, but before it is seeded. A soil test on the topsoil will show the current nutrient status, and a local Extension agent can help determine the amount of nutrients needed for optimal growth based on the soil test results. Regardless of whether fertilizer is organic or synthetic, lime, phosphorus and potassium are most effectively added prior to planting grass since they move very slowly in the soil. Incorporate added nutrients into the soil using a rake. Try to keep the nutrients in the top 2 inches of the soil so they can be available to the grass within the first two growing years. Extension publications “Soil Sampling,” FGV-00044, and “Factors to Consider in Selecting a Soil Test Lab,” FGV-00045, give further information on how to take a soil sample and get it processed by the appropriate laboratory.
When local peat is added as organic matter, the pH of the soil is definitely affected.
Much of the  peat in Southeast Alaska is acidic, with a pH of 4.5, and some deposits have a pH
as low as 3 to 4. Adding peat lowers the soil pH to below the level that is recommended
for grass. Add lime to raise the pH back to the desired range. The soil test results
that guide the fertilizer recommendation will also determine the amount of lime needed.
Final planting preparation
Once the area is formed to the desired slope and all soil amendments and nutrients are incorporated, the seedbed should be firmed before seeding. A properly compacted seedbed should compact ¼ inch when walked on. This can be achieved with a rented lawn roller, by rolling a 30- or 40-gallon drum filled with water across the seedbed or by simply compacting the seedbed by foot (stepping down the entire bed). After compacting, finish the seedbed with a light raking to level the soil and provide small furrows for the seed to fall into.
Choosing grass varieties
Grass seed variety has a significant impact on the success of the lawn. The varieties that have shown success for lawns in Southeast Alaska are the Kentucky bluegrass varieties Alpine, Nugget, Kenai and Park, and the red fescue varieties Arctared and Boreal. (Most grass seed blends made for Alaska contain mixtures of these varieties.) While this blend of varieties does well planted on its own, it can be useful to include 10 percent ryegrass in the mix. For many homeowners in Alaska, a blend of Kentucky bluegrass, red fescue and ryegrass may be the best option. The advantage to including the ryegrass is that it germinates very quickly — in as little as four days — and provides a quick cover while the other seed germinates. The quickly growing grass also helps control erosion from both wind and water, and it also helps tremendously with moisture retention. Perennial ryegrass is recommended over annual rye grass as part of the blend because it has been found to overwinter in some Southeast Alaska conditions.
Applying the seed
 The timing of grass seeding depends on whether the site has irrigation. For locations
that can use irrigation to ensure that the plant roots never dry, the preference is
to seed as soon in the spring as possible once the threat of frost has passed. Seeding
is possible as late as six weeks before the anticipated fall frost date. As expected,
the longer the grass enjoys the growing season, the stronger the plant will be going
into winter dormancy. If there is no irrigation available for the site, seeding should
be delayed until the summer rains can reasonably be expected to consistently keep
the new roots moist. Again, try to get at least six weeks of growth before the fall
frost.
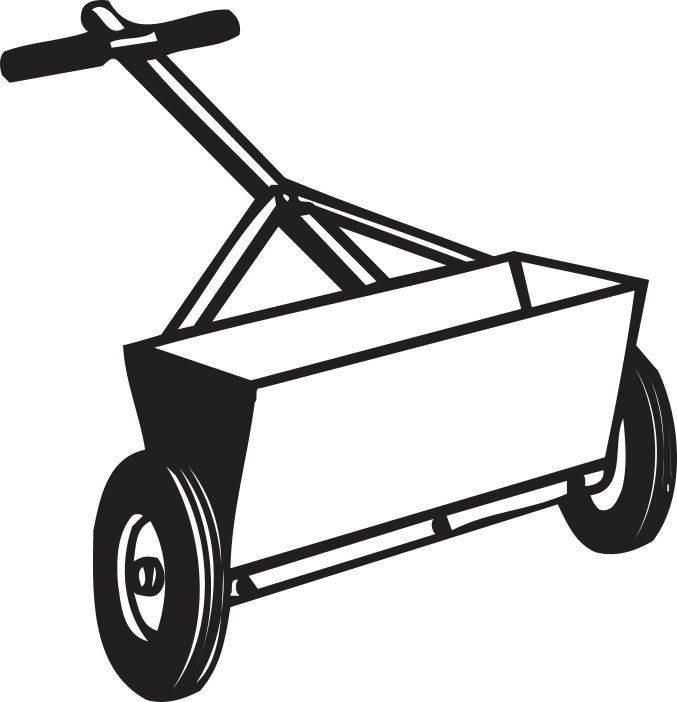
Plant the seed at the highest suggested rate on the bag, and consider going up to 50 percent higher than the suggested rate. If cost is a major factor, however, apply seed at the highest affordable rate. Apply the seed carefully by hand or, for an easier and more uniform application, use a drop-type or rotary type spreader. Hand-crank spreaders are useful when seeding small areas.
Regardless of the spreading method, the best results are achieved by applying the seed in two applications. Apply half the seed in east to west passes, then apply the second half over the same area in north to south passes. This method eliminates bare and sparse spots.
As previously mentioned, when using a mixture with 10 percent ryegrass, the ryegrass should germinate in a few days. The fescue varieties usually germinate next, in one to two weeks, with the bluegrass varieties often taking three to four weeks to germinate.
Watering for lawn establishment
Tiny grass seedlings are very vulnerable, so it is important to keep the roots moist. Keep the soil around the establishing grass dark in color; this may require watering several times per day. Maintain the enhanced watering schedule until the seedlings reach ¼ inch in height. Once this stage is reached, water approximately twice per day, making sure seedlings get at least ¼ inch of water every day. Maintain this twice-daily watering schedule until the seedlings are 1 inch tall. A good rule of thumb for watering while the grass is growing is to wet the soil to the level of the root tips.
Care during establishment
Keep traffic on the seed plot to a minimum as the lawn is becoming established. Keep people and pets off the seeded area or enclose the area with a temporary fence. Once the seedlings reach 3 inches in height, it is OK to mow the new grass. At this point in the plants’ development, the roots will be established, so before cutting the new lawn allow the area to dry. Do not mow the area when it is wet since the mower may leave ruts in the topsoil and will not cut the wet grass as evenly as it would dry grass.
Set the mower to cut 1 inch from the grass (one-third of the 3-inch grass height),
making sure to use a very sharp blade. Sharp blades make a clean cut, while dull blades
result in shredded, ragged tips. These rough cuts cause unnecessary stress at a critical
time and make the plants more susceptible to disease. Also, dull blades can pull new
grass out of the ground, causing irreversible damage to the lawn.
Cutting young grass frequently (every seven days) means smaller grass clippings in the lawn instead of unsightly clumps. Furthermore, when the tops of the grass blades are removed, a physiological response by the plant causes it to divert some growth energy from vertical to horizontal, resulting in a fuller lawn more quickly than with less frequent mowing.
Lawns and trees
Although most Alaska gardeners love trees, most grasses thrive in full sun, and the shade from trees gives the grass in the shade an additional stress factor. Furthermore, trees compete with the grass for light, nutrients and moisture. Since Southeast Alaska already has a considerable number of cloudy or rainy days, grass planted in very shady locations will be more difficult to turn into a healthy lawn.
If planting grass in a shaded area, like under a tree, use the fescue varieties, which are more tolerant to shade and tend to require less nitrogen to be healthy. Regardless of the type of grass planted, however, it is helpful to reduce the amount of fertilizer used on these spots to 50 percent of the rate used on the rest of the lawn. The fertilizer reduction helps keep the grass from growing so aggressively that the roots become stressed. Reducing human and pet traffic on shaded areas also helps keep the grass healthy. Finally, adjusting the mower to cut the grass ½ inch longer than the rest of the lawn gives the grass more area by which to absorb the limited light.
When choosing lawn fertilizer, it is important to recognize that some (“weed and feed”) fertilizers include broadleaf herbicides, which can leach into the soil, causing damage to tree and shrub roots in the vicinity.
Maintaining established lawns
Once the grass roots are established and the lawn fills in, maintenance needs change. An established lawn should be watered infrequently but thoroughly to encourage the roots to explore the entire layer of top-soil. Frequent, shallow watering, as is needed during lawn establishment, encourages the roots to stay close to the surface. Applying enough water to penetrate 3 to 5 inches below the surface and allowing the top to dry out encourages the roots to go deeper for moisture. Deeper roots help the grass over winter, aid in survival during dry periods and more easily access the additional nutrients that were worked into the topsoil initially. A good way to determine how deep the water penetrates the soil is by occasionally making a small cut in the turf and checking the soil below. Even though the climate in Southeast Alaska is moist, the moisture often stays near the surface; therefore, it is important to make sure the soil is moist below the level where the current grass roots are growing in order to encourage them to grow deeper.
 layer is necessary, as it provides cushioning and protection from some desiccation
for the grass crowns, and it is home to a plethora of insects. Un- fortunately, thatch
also provides a great environment for disease and inhibits water movement down to
the soil as it becomes thicker. The ideal thickness of thatch is ½ to ¾ inch on a
home lawn. The best way to maintain a healthy level of thatch is annual raking of
excessive thatch and core aeration.
When mowing an establishing lawn, don’t cut more than one-third of the grass height, even if rainy weather or vacation causes the grass to grow 6 inches tall. In this case, begin by cutting the grass to 4 inches, then two or three days later cut the grass to 2½ inches and continue with the normal mowing cycle. Cutting 6-inch-tall grass down to 2 inches in a single cutting will cause unnecessary stress.
Also related to mowing is the great Alaska lawn debate about whether to mulch the clippings into the lawn or remove them. Grass clippings contain a lot of nitrogen, and leaving them on the lawn is a great way to recycle the nutrients and add organic matter to the soil. On the other hand, grass clippings can lead to a buildup of excess thatch, which is a great justification for removing them. Wet lawn conditions make it difficult to handle the clippings for mulching, while dry conditions make mulching easier.
Regardless of whether clippings will be mulched or removed, thatch buildup on Alaska lawns can quickly reach harmful levels as a result of low temperatures, which inhibit the microbial activity that breaks down the thatch as it forms. Thatch buildup causes poor drainage, no matter what the soil characteristics are.
When using a core aerator, the plugs that are removed from the grass are left behind on top of the lawn. These plugs should be left to dry slightly before removing them. If they consist solely of thatch, they can be power blown or raked up and added to the compost pile. If the plugs are part thatch and part soil, use a chain to drag them across the ground to remove the soil portion and work some of the crumbled bits back into the holes; finish by blowing or raking the remaining “thatch puff balls” off of the lawn and into the compost pile. There is no need to interrupt the normal mowing schedule following aeration. If the plugs contained soil, however, use an old or dull mower blade to mow until the soil bits are no longer sitting on the surface, then use a sharp blade once the soil is gone.
For ideal mulching, the lawn should be mowed twice a week with a sharp blade (never
when it is raining or the grass is wet), aerated in the spring and fall 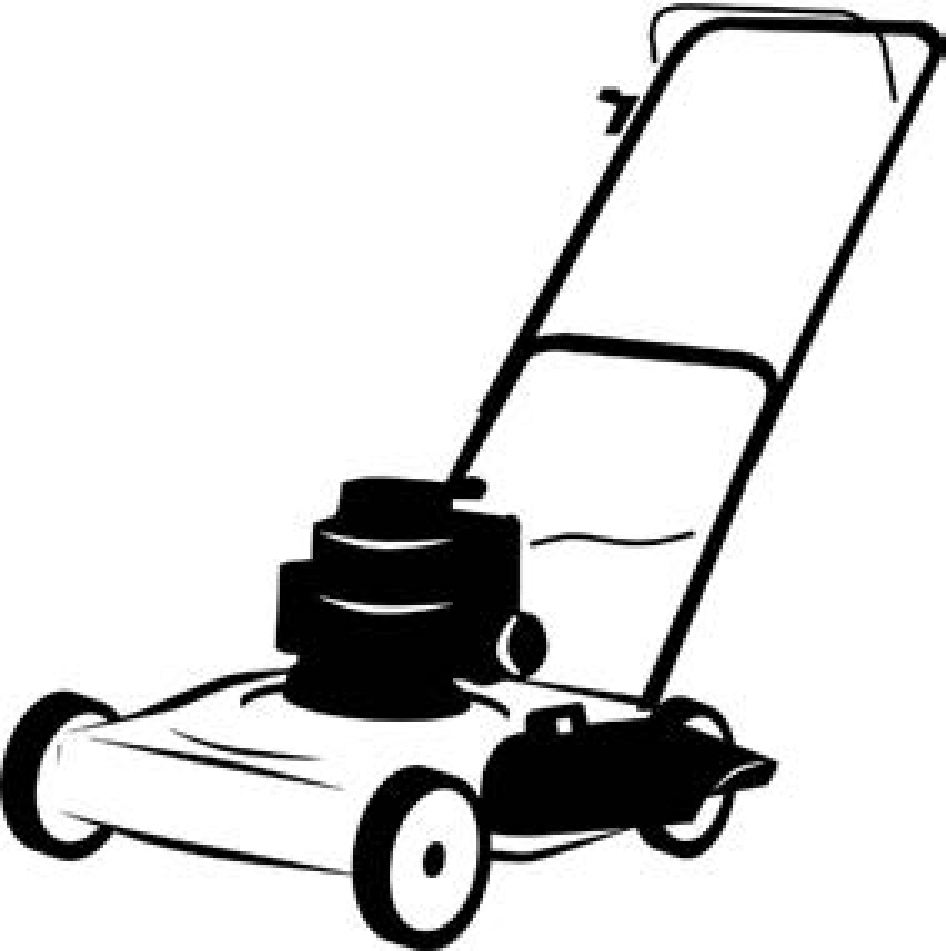 every year and dethatched (power raked) every year, and it shouldn’t be overfertilized
or overwatered. If any of these ideal conditions can’t be met, it is probably better
to remove the clippings and compost them. For landowners who decide to mulch, mowers
are available that can either catch the clippings or, with the insertion of a plate,
mulch the clippings.
Weed control in a healthy lawn is often accomplished through mowing, since only certain weeds can tolerate frequent cutting. Fertilizing and timely watering also keep weeds at bay, since a healthy lawn is often able to crowd out weeds before they become established. If the lawn is weakened and weeds have taken hold, remove them by hand for a small lawn, or use herbicides for a larger area.
If landowners choose to use herbicides, including “weed and feed,” they should recognize that the treated grass clippings can have residual herbicidal effects, so they should not be used as direct mulch or composted for use on broadleaf plants, including gardens.
Fertilizing will also contribute to a healthy lawn. The major nutrients lawns need are nitrogen, phosphorus and potassium. The grass can access these nutrients from synthetic sources, such as chemical fertilizers, or from organic sources, such as compost or fishmeal. A soil test every few years will indicate what nutrients the soil is lacking, and your local Extension office can help decipher the test results and determine the most effective strategy for adding the necessary nutrients. Without the fertilizer recommendation from the soil test, the homeowner is best advised to follow the recommended application rates and instructions printed on the bag of fertilizer. Use caution in the timing of the fertilizer application. Don’t apply nitrogen after early August since the additional nitrogen fertilizer will delay the plant’s winterizing process and the plant may not survive the long winter.
UAF Cooperative Extension Service Resources
“Factors to Consider in Selecting a Soil Test Lab,” FGV-00045
“Managing Alaska Soils,” FGV-00043
“Planting Grass on Gravel Runways in Alaska,” HGA-00340
“Soil and Fertilizer Management for Healthy Gardens,” HGA-00338
“Soil Sampling,” FGV-00044
Darren Snyder, Extension Faculty, Agriculture and Horticulture; Jeff Smeenk, former Extension Horticulture Specialist; and Robert Gorman, former Extension Faculty, Natural Resources and Community Development.
Revised September 2024
